So with all the hubbub to get online and shop this holiday season, we figured we would make it simple at DIY Moto Fix and just have one big sale.
Whether you're the one getting up at 5am to get the best Black Friday deals, or you're the one driving 90 minutes north to go ride in the dirt all day (that would be us), today through December 1st everything on the DIY Moto Fix site is on sale.
We normally don't go this steep with our discounts, so you definitely want to jump on board for this one before it's over.
Below we have a list of our top selling products with links so you can learn more. Scroll through and make your wishlist.
If you are taking off for a weekend of riding, then be sure to share this post with your significant other so they know what to put in your stocking this year!
motorcycle lift build plans
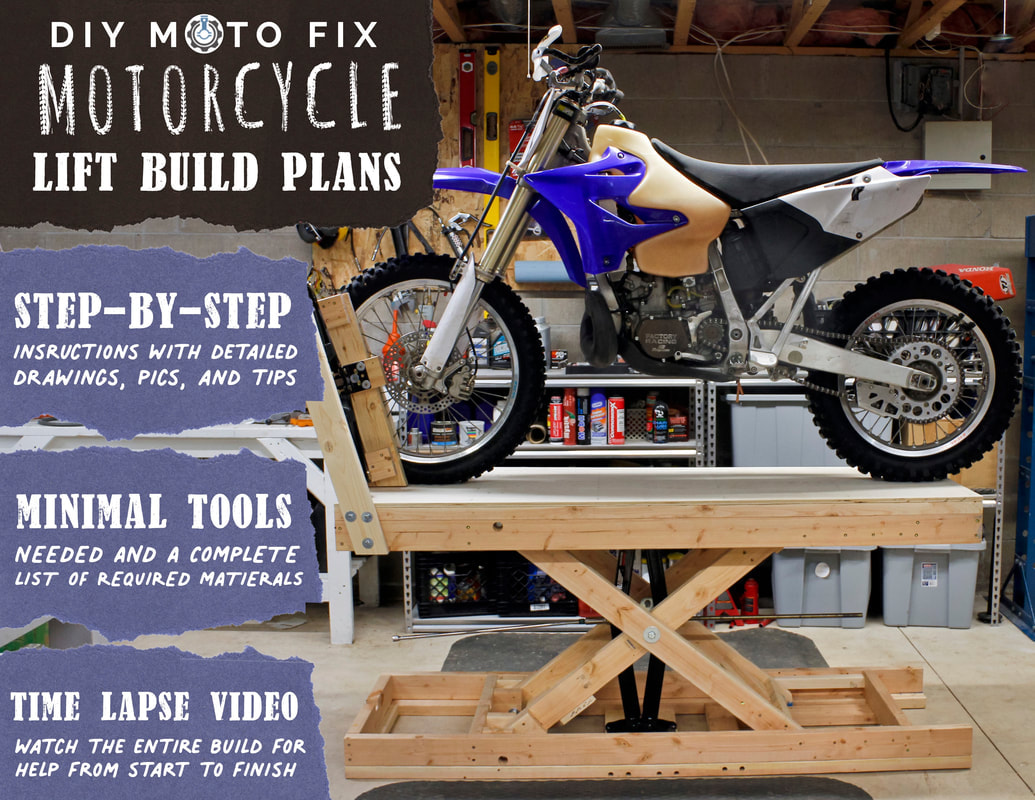 | For the last couple of years, I’ve spent a lot of time brainstorming ways to make a fully functional yet affordable DIY motorcycle lift that everyone can build. Finally, after lots of CAD modeling, several prototype builds, multiple design changes, and countless hours working through ideas to improve the design and reduce the build cost - I’m excited to share my design with you! |
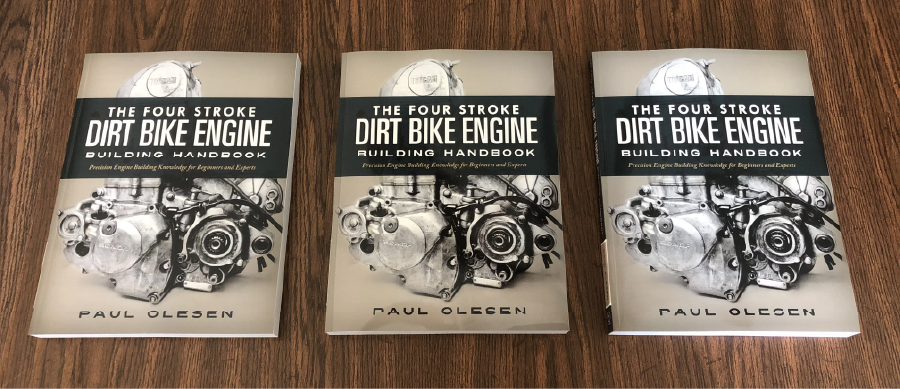
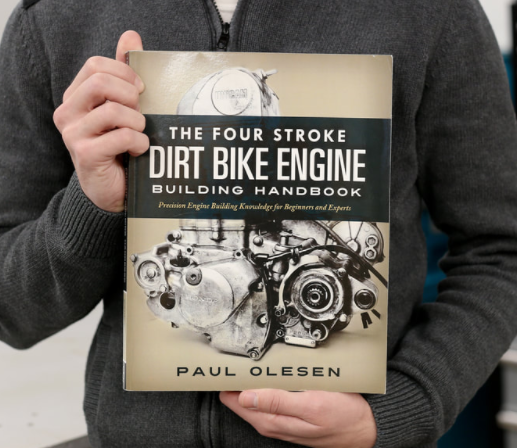
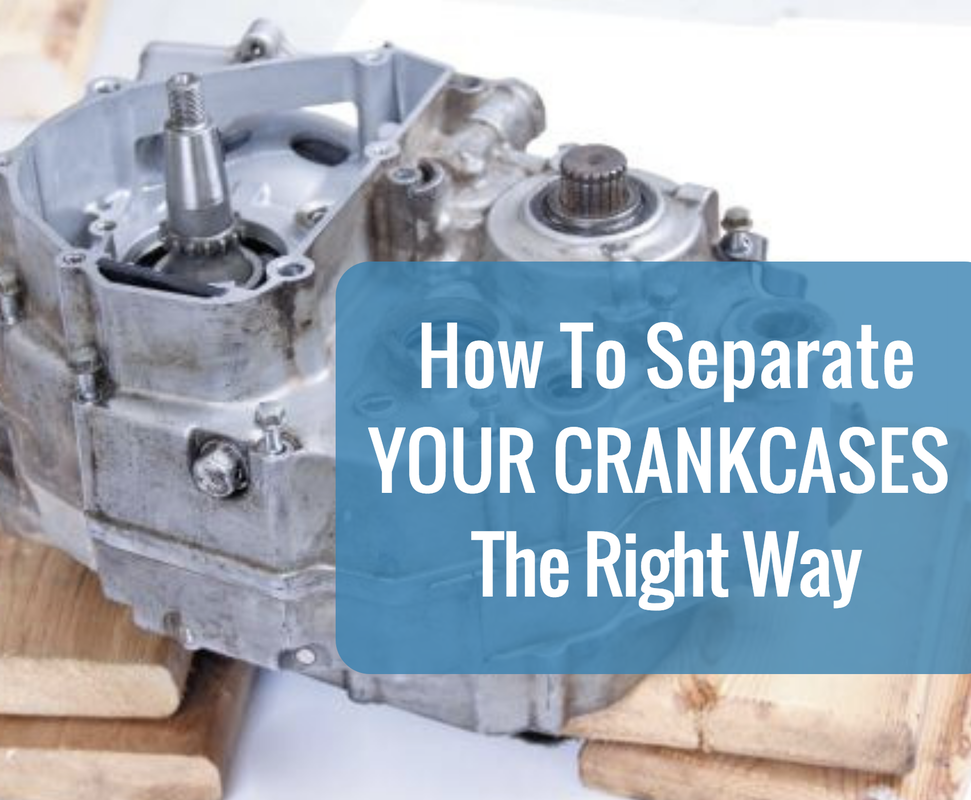
The TWO AND FOUR Stroke Dirt Bike Engine Building HandbookS
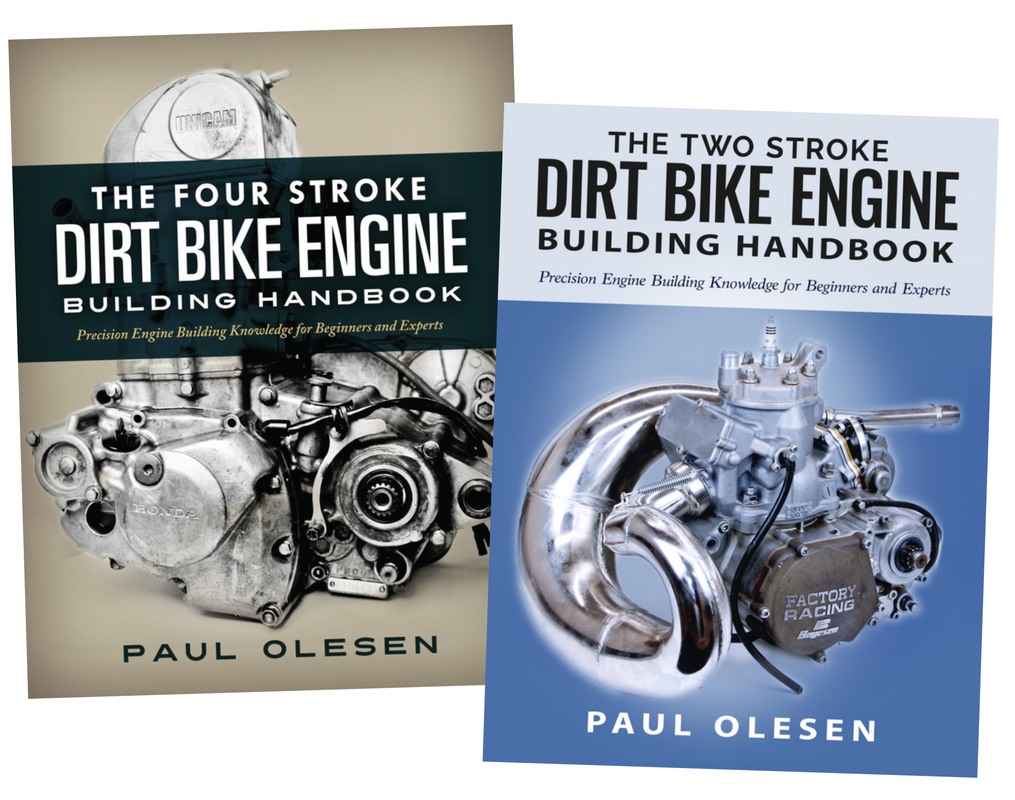 | Both are available as a print book, eBook, or bundled together. These 300+ page handbooks come with over 250 full color pictures and all the information you need to fully rebuild your two or four stroke dirt bike engine. Diagnosing engine problems and picking up on subtle signs of wear can be frustrating if you don't know what to look for during a build. In this book we take you through key inspection points, explain why a part has worn or failed, provide examples, and give you a solution on how to fix the problem. You learn not only the correct way to rebuild your engine, but also the technical reasons why things are done the way they are in the engine building world. Join the 3000+ other riders that have successfully rebuilt their engines themselves using our books! |
SHOWA & KYB SHOCK BUILDING INSTRUCTIONALS
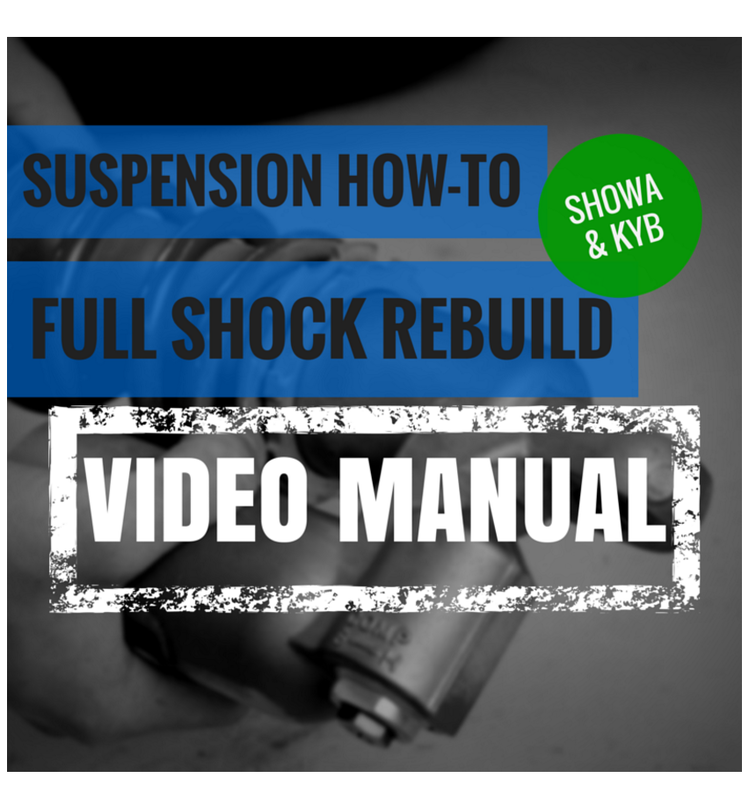 | Available as a Video Manual, eBook, or both, follow along and learn how to rebuild Showa & KYB reservoir style shock absorbers on your own. We teach you all the tips, tricks, and techniques required to properly service shock absorbers. With the Video Manual, you will receive 46 minutes of high definition video, PC and mobile phone friendly. Compatible with VLC Media Player and Quicktime. With the eBook you will receive the six chapters, 32 pages in total, via your email address. From there you can download the PDF instantly or view it online. |
The Honda CRF 450 Full Engine Rebuild Video Manuals
 | Learn how to repair and rebuild your CRF 450R or 450X dirt bike engine from powertrain engineer Paul Olesen, a professional in the motorcycle industry who is passionate about bringing professional-grade knowledge to the at-home mechanic. We take you through how to properly check and adjust valve clearances, perform a top end rebuild, and successfully complete a bottom end rebuild. With high definition video, professional editing, and high quality audio you learn seamlessly and effortlessly in your own garage. Every Video Manual includes a PDF packet of all necessary tools, torque specs, service limits, and Honda shim sizes. To date we have helped over 400 riders rebuild their engines. |
Do you want more suggestions? Check out our entire store at this link. Happy Holidays!