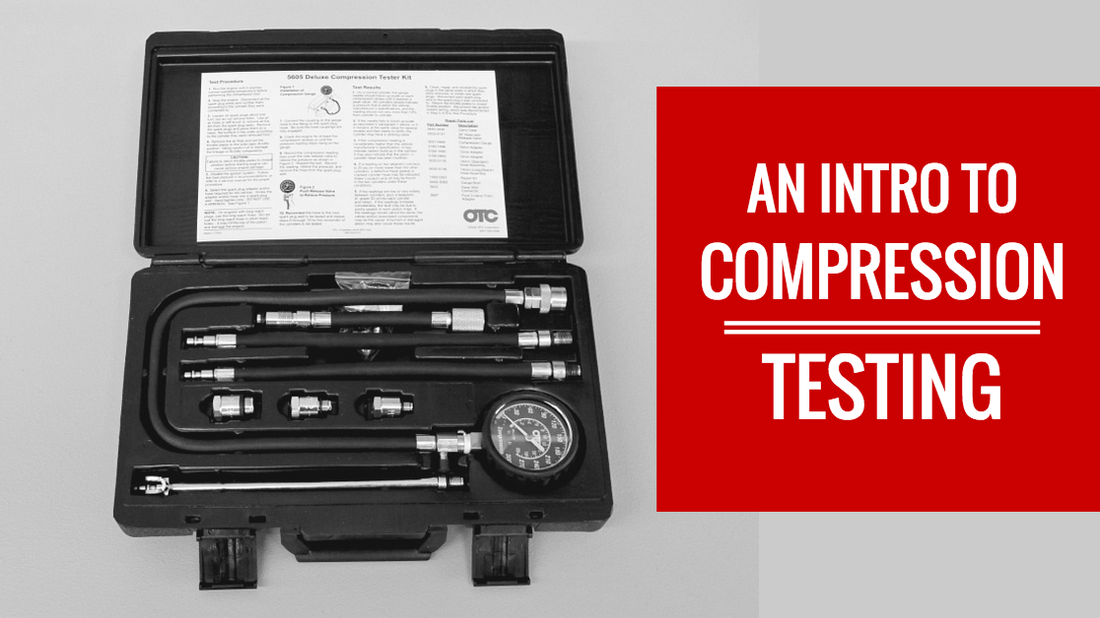
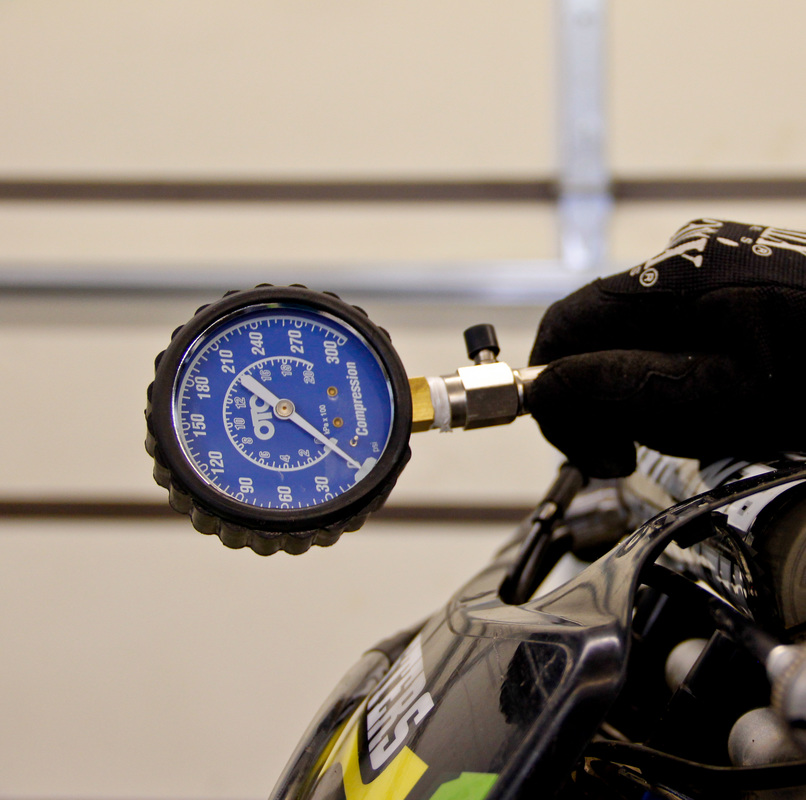
In this first part of the series I’m going to provide a general overview and discuss some of the finer details regarding compression testing that can be overlooked. In the second part I’ll show you how to perform a compression test. What is a compression test? A compression test measures the peak pressure in the engine’s cylinder as the engine is turned over, or a reduced cylinder pressure value if the engine is equipped with a decompression system.
While a compression test seems straightforward, it can actually be a bit more complicated than you expect. There are two different ways the engine can be tested. Warm or cold.
The hypothesis behind performing the compression test with a warm engine is that the engine is closer to its operating temperature, thus the compression test is more accurate. The piston, cylinder, and rings have all increased in temperature and thermally expanded, so the clearances between these parts is more representative of what would be found in a running engine.
While this is a good thought it can be difficult to perform repeatedly in reality. On a dirt bike the seat and tank first have to be removed to get at the spark plug. Then the plug has to come out and the gauge has to be installed. The amount of time that the engine is warmed and the amount of time it takes to prepare for the test will have an effect on how warm the engine will ultimately be when the test is finally performed.
Performing the compression test cold is much easier on the mechanic and introduces fewer extraneous variables that may need to be monitored. The resulting compression values of cold tests are lower than those of warm due to the extra clearance found within the engine. The lower number of variables affecting the test may also make testing compression more repeatable.
Some OEMs, mechanics, and tuners believe adamantly that the tests should be carried out warm, while others suggest cold testing is the way to go. There is no definitive answer to which is the best way. My personal experiences lead me to believe that cold testing is easier, introduces less variables, and is much more repeatable. At the end of the day repeatability is what you are looking for as a mechanic. As long as you can obtain repeatable results you can choose the method that is best for you.
If the engine is equipped with a decompression system of some sort, that throws another wrench into the equation. Some OEMs have a compression value to go by with the decompress system installed, while others don’t provide any useful information. To properly do the compression test the decompression system would have to be removed or temporarily disabled so the true reading of peak cylinder pressure can be obtained. The majority of time on engines equipped with decompression systems this is an undesirable task to take on so the lower compression values with the decompression system enabled are referenced. For engines without a decompression system much more meaningful values can be obtained. When working on engines which have a decompressing system that bleeds cylinder pressure off as the engine is kicked over time is usually better spent performing a leak down test on the engine because the overall condition of the engine can be assessed much more accurately.
Compression Testing Best Practices:
Compression testers’ measurements can vary slightly from model to model, because of this it is never a good idea to test an engine with brand A one day and brand B the next. Assuming this is done, brand A could read high while brand B could read low, giving a false indication that there is a problem with the engine. All that has actually occurred is a difference in the calibrations of the testers’ pressure gauges.
While many acceptable compression numbers are thrown around on the internet, in shops, and when bench racing for various models of bikes - these numbers are less important than you might be led to believe. Compression testing is definitely a great tool to assess the health of an engine, however it is an even more powerful tool when used for comparative testing. To illustrate this, consider a scenario where an engine has been freshly rebuilt from top to bottom. The engine has just been broken in and the total time on the engine is around three hours. A compression test is performed at this point and a reading of 170 psi is taken. After some time the bike has been ridden and seems to be a little down on power. A compression test is done again, but this time it reads 136 psi. This is a 20% loss in compression compared to the first reading and now the mechanic knows there is something going on with the engine. The great thing about testing in this way is that it would not have mattered if the first reading was 160, 180, or any other number. The only thing that matters is the difference in compression between the first and second tests.
Another note on compression tester values is that the readings will vary depending on altitude. If your buddy in Wisconsin checks his compression at sea level and gets a reading of 180 psi and you live in Colorado at an elevation of 6,000ft, it would be unreasonable to expect to have your engine read 180 psi too. Just because the engine tested at higher elevation does not read as high does not mean there is anything wrong with it. At higher elevations the air density is much less dense, resulting in less air to compress which effectively lowers the maximum value recorded by the compression tester.
Comparative testing may not always be practical though if the owner or mechanic didn’t plan ahead, and in this case, the numbers do matter. In this scenario the best use of the compression tester is to determine if something major has happened to the engine. For example, if an engine is tested without a decompression system and the reading is 120psi or less, there are definitely problems. Or, if an engine is tested with a decompression system and the reading is significantly less than the specified value provided by the manufacturer, you can also be certain there are problems. If the reading ends up being in the ballpark of what is deemed acceptable for that particular engine, then it would be best to perform a leak down test on the engine to confirm if there is a problem or not.
Repeatability is the most important aspect for any type of test being performed. Compression testing is no different. It is best to have a set method for performing the test each and every time. Examples of variables to keep track of include how many times you kick the bike over, whether the test is performed hot or cold, and who is doing the kicking. The rate at which the engine is kicked can have an influence on the compression recorded. This means you may get different results when you kick the bike over compared to when your buddy with thunder thighs kicks the bike over. However you decide to perform your tests, be sure you keep track of your methods so the next time you do them you can be as accurate as possible when repeating the procedure.
Next week, I’ll take you step by step through performing a compression test so you can see exactly how one is performed. I hope this write up has given you a good understanding of compression testing and you can see how this testing method can be used most effectively. Please feel free to share your questions or comments below.
Did you enjoy this post? Want more free dirt bike maintenance info and tips? Subscribe our free eNewsletter and get our weekly posts sent right to your email inbox.
Sign me up for the eNewsletter!
I'm ready to take my dirt bike knowledge to the next level.
|
Want more in depth information on diagnosing engine problems? In my new eBook, The Four Stroke Dirt Bike Engine Building Handbook, you learn in-depth on how to recognize serious symptoms of a sick engine. From there the book takes you through an entire four stroke engine rebuild from disassembly, to inspection, to reassembly. Learn from a pro, fix your own bike, and get back to riding.
Learn more by clicking here. |


