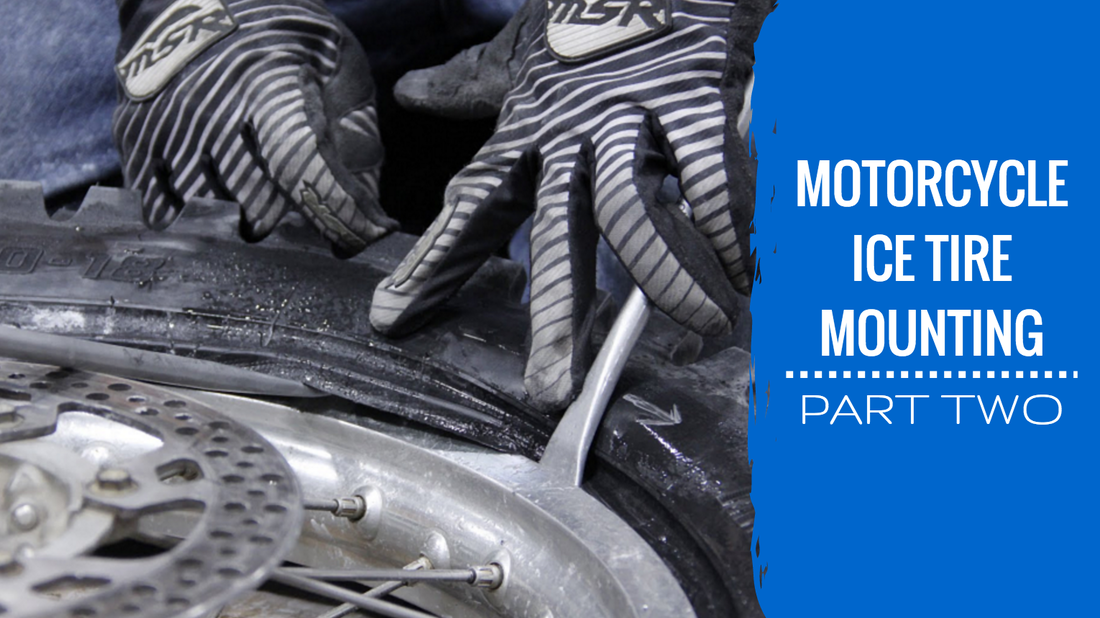
In today’s post Jarrett and I are primarily going to focus on mounting ice tires. Most ice tires are heavy duty, they may require an additional tire liner to be installed during the mounting process, and in general they can be difficult to work with. I’ll be working through the mounting process with Jarrett’s guidance and using his tips to ensure I don’t puncture a tube.
To best illustrate the mounting process, studding process (next week’s post), and all the knowledge Jarrett shared in our previous post, I’ll be preparing a new set of tires. Jarrett will continue to chime in with (much needed) guidance and commentary. We’ll get into more detail on why things are done in a specific way, and share examples of tire builds that you can use as a reference.
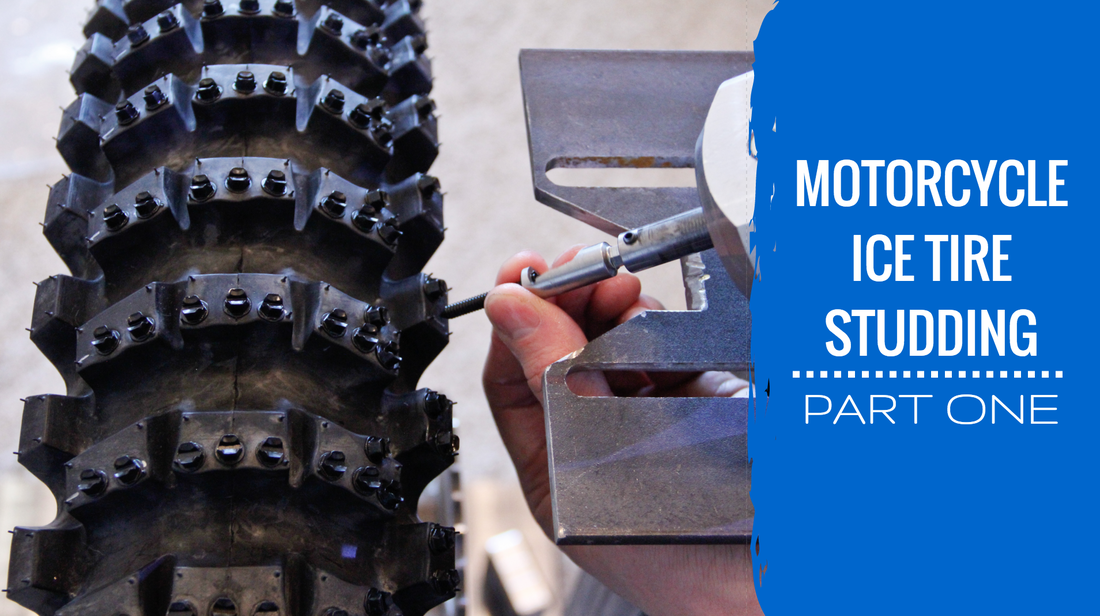
My first set of ice tires was a Bridgestone front and Kenda rear combo built by Jeff Fredette. I liked the Bridgestone front, but have had some trouble maintaining traction with the Kenda rear on anything but clean ice. I decided this year that I wanted to try something new and after talking with Jarrett, I was sold on the Mitas Ice Kings. Full disclosure, I am not an affiliate of Mitas Ice King Tires, I just love their product. To me, the Mitas ice tires are advantageous for a number of reasons. First, they were designed for the ice and have a rubber compound that was specifically made for cold weather riding. Second, the tires don’t require any internal tire liners, which simplifies the mounting process and may save a little weight. Third, the tread pattern was designed to work in conditions where the ice isn’t perfectly clean. Finally, since the tires were designed knowing that screws would be installed, the tires are also more tolerant of being screwed into. This results in a longer lasting tire. Needless to say, the following walkthroughs on mounting and studding will feature a set of the Mitas Ice Kings
To best illustrate the mounting process, studding process (next week’s post), and all the knowledge Jarrett shared in our previous post, I’ll be preparing a new set of tires. Jarrett will continue to chime in with (much needed) guidance and commentary. We’ll get into more detail on why things are done in a specific way, and share examples of tire builds that you can use as a reference.
My first set of ice tires was a Bridgestone front and Kenda rear combo built by Jeff Fredette. I liked the Bridgestone front, but have had some trouble maintaining traction with the Kenda rear on anything but clean ice. I decided this year that I wanted to try something new and after talking with Jarrett, I was sold on the Mitas Ice Kings. Full disclosure, I am not an affiliate of Mitas Ice King Tires, I just love their product. To me, the Mitas ice tires are advantageous for a number of reasons. First, they were designed for the ice and have a rubber compound that was specifically made for cold weather riding. Second, the tires don’t require any internal tire liners, which simplifies the mounting process and may save a little weight. Third, the tread pattern was designed to work in conditions where the ice isn’t perfectly clean. Finally, since the tires were designed knowing that screws would be installed, the tires are also more tolerant of being screwed into. This results in a longer lasting tire. Needless to say, the following walkthroughs on mounting and studding will feature a set of the Mitas Ice Kings