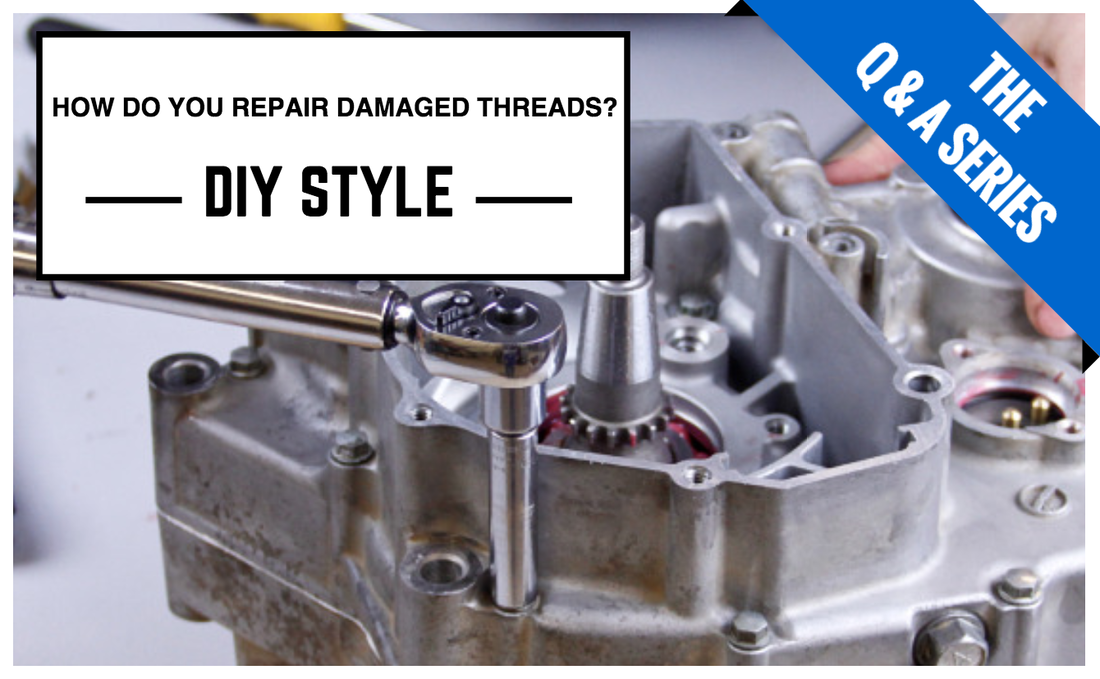
This week in our Q & A series I’m going to spend some time discussing solutions for repairing damaged threaded holes that occur when rebuilding your dirt bike engine. Hopefully you never have to use any of my solutions, but if you’ve been around dirt bikes long enough repairing damaged bolt holes is an inconvenient truth. Whether you have bought a used bike from a ham fisted previous owner or you buggered up a threaded hole yourself, let’s take a look at how they can be fixed as well as how damaging threads can be avoided in the first place.
Why do Threads Strip or Get Damaged?
Over-tightening, cross-threading, installing bolts with dirty threads, and installing the wrong bolt in the intended hole are the primary reasons a threaded hole will become damaged or completely stripped. Most fasteners used on dirt bikes are comprised of a steel alloy and they thread into aluminum holes. This combination of hard and soft materials used to fasten joints leaves the threaded hole particularly susceptible to stripping if the bolt is over-tightened beyond the specified torque spec. Since the aluminum is the weaker of the two materials used in the joint, the aluminum will yield long before the steel bolt is affected, resulting in the stripping of the threads.
Cross-threading occurs when a bolt is installed at an angle and the bolt threads attempt to engage with the hole threads at two different levels within the thread pattern. When this happens, the soft hole threads flatten and the threads become distorted. One of the most common scenarios where cross-threading occurs is when assembling multiple parts which all must be aligned simultaneously. Think of installing the seat bolts as an example. The plastic side panel, seat, and mounting tab must all be aligned in unison. Often times the bolt is used to try and pull all the parts into alignment and the bolt ends up cock-eyed to the hole.
Installing bolts with dirty threads will reduce the necessary clearances between the mating threads and can wreak havoc on the soft aluminum threads. Common scenarios leading to problems include bathing the bolt in dirt by dropping it on the ground before reinstallation and reinstalling bolts which have previously utilized a thread locking agent to retain them.
Installing bolts with dirty threads will reduce the necessary clearances between the mating threads and can wreak havoc on the soft aluminum threads. Common scenarios leading to problems include bathing the bolt in dirt by dropping it on the ground before reinstallation and reinstalling bolts which have previously utilized a thread locking agent to retain them.
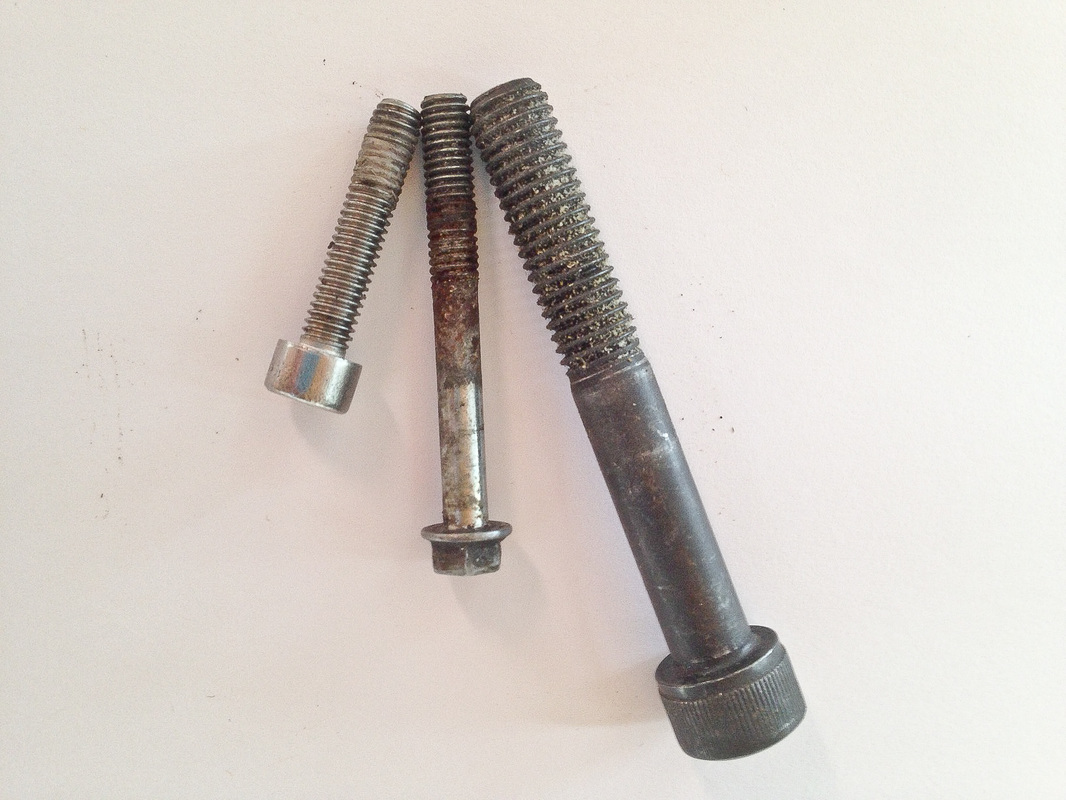
The wrong bolt in the wrong hole scenario can play out in two forms. A bolt which is too short for its intended hole, resulting in inadequate thread engagement, can accidentally be installed. This occurs most often in parts using dowel pins and multiple bolts to secure the parts, resulting in a mix up. Usually the dowel pinned holes require longer fasteners for adequate thread engagement and when the bolt lengths are not kept track of, problems arise. The other occurrence is when bolts with the wrong thread pitch are installed into threaded holes. Maybe a bolt has fallen out of the bike, went missing, and the replacement ends up being of the wrong pitch. ¼”, 5/16”, and ⅜” bolts are similar in diameter to metric 6mm, 8mm, and 10mm bolts respectively.
Fixing Damaged Threads
The fix for repairing a damaged threaded hole is going to depend entirely on the situation surrounding the problematic joint. There are plenty of options for fixing the problem at hand including:
Fixing Damaged Threads
The fix for repairing a damaged threaded hole is going to depend entirely on the situation surrounding the problematic joint. There are plenty of options for fixing the problem at hand including:
- Re-tapping the original hole if it is not severely damaged
- Tapping the hole to larger size
- Installing a helicoil
- Threading the original hole deeper
- Welding and re-tapping
- Filling the hole with JB Weld or similar epoxy and re-tapping
- Drilling a thru hole and installing a longer bolt secured with a nut
- Drilling, tapping, and relocating the fastened joint
There are a few factors that will dictate the best solution to the problem at hand. To start with understanding how much load is applied to the joint is important. For example, using JB Weld to re-thread the bolt hole used to secure the subframe to the frame would be a bad idea, however on a joint which isn’t stressed as much, epoxy threads can hold up just fine. Noting the torque specification provided in the service manual is a good way to get a feel for the amount of load the joint carries if you are unsure. Of course common sense goes a long way in making this determination as well.
The amount of material surrounding the bolt hole should be considered, along with any additional depth that could be gained by tapping the hole deeper. Apart from re-tapping slightly damaged threads, some of the easiest repairs can be made by re-tapping the hole to a larger size, installing a helicoil, or tapping the original hole deeper so a longer bolt can be used.
Filling the old hole by welding it up is often considered an option. There are a few problems with welding I want to warn about. First, the practicality of welding is limited, especially on blind holes, because it is next to impossible to get filler material all the way in the hole. Second, the number of contaminants in the old hole (even after a thorough cleaning) make it very difficult to get a good fill. Third, any time an area of a part is welded the heat treatment, if any, of that part is altered and the part is usually weakened. This may not be a problem on some parts, however on aluminum frames and swingarms the heat treatment is of particular importance for structural integrity. Aluminum frames that have been welded usually become very brittle around the weld joint making the frame more susceptible to cracking in the welded area.
Occasionally, a low strength bolted joint will strip in which case an epoxy can be used to good effect. Perhaps a brass insert or plastic threads have stripped on the fuel tank, airbox, or similar part and you are in need of a solution. By scuffing the area to be epoxied, carefully cleaning, and applying a suitable epoxy, often times the joint can be saved by tapping a threaded hole into the epoxy.
Whatever the case may be using common sense and considering all your options before making any irreversible alterations to expensive parts will be a good step in the right direction. Hindsight is always 20/20 but I want to go over some things that can be done to prevent the stripping of threads in the first place.
Preventing Threading Problems
1. Always make sure the bolt and threaded hole are clean and free of debris before installing the bolt. If necessary, use a wire brush to clean debris from bolt threads and a tap to free debris from the threaded hole.
2. Make sure all parts being clamped together are properly aligned. Don’t rely on the bolt threading into the hole to align parts. You will eventually run out of luck and cross-thread the bolt if you are dependent on this technique. If properly assembled, most joints should easily come into alignment without a great deal of force.
3. Start fasteners by hand and pay attention to how the bolt feels as it threads into the hole. Within the first few revolutions of threading a bolt into its corresponding hole, any cross-threading or other problems will easily be felt before major damage to any threads has occurred.
4. Avoid using an impact wrench when tightening fasteners utilizing a combination of soft and hard materials. As previously discussed, steel bolts into aluminum holes can strip easily if overtightened. Since an impact wrenches cannot meter torque accurately, they should not be used for final tensioning of bolts.
5. Adhere to the torque specs provided in service and owners manuals. Torque specs are established so bolts are not over or under tightened. Like it or not, your arm is not a torque wrench and even some of the most experienced arms have difficulty metering torque correctly without the aid of a torque wrench. For example, most 6mm bolts that thread into aluminum holes only require 10Nm of torque for proper tensioning. 10Nm of torque applied using a torque wrench actually feels like the bolt has been under tightened most of the time. This “loose” feeling makes it very easy to over tighten the bolt when not using the torque wrench. Beware!
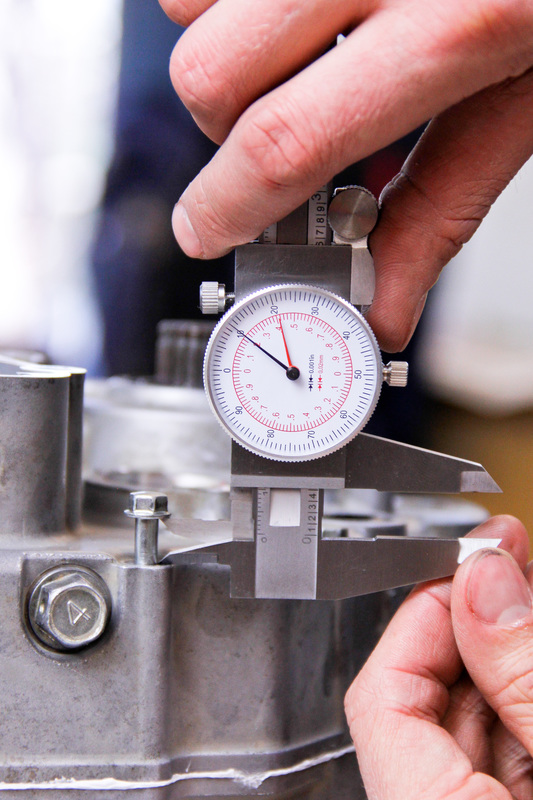
6. Make sure there is correct thread engagement before tightening. As a rule of thumb the majority of fasteners will utilize a threaded length at least 1.5 times the diameter of the bolt. For example, a 6mm bolt should have at least 9mm of thread engagement at the minimum. Thread engagement can easily be checked by inserting the bolt into its corresponding hole and measuring the distance from the bolt face to the clamping surface prior to tightening the bolt.
The amount of material surrounding the bolt hole should be considered, along with any additional depth that could be gained by tapping the hole deeper. Apart from re-tapping slightly damaged threads, some of the easiest repairs can be made by re-tapping the hole to a larger size, installing a helicoil, or tapping the original hole deeper so a longer bolt can be used.
Filling the old hole by welding it up is often considered an option. There are a few problems with welding I want to warn about. First, the practicality of welding is limited, especially on blind holes, because it is next to impossible to get filler material all the way in the hole. Second, the number of contaminants in the old hole (even after a thorough cleaning) make it very difficult to get a good fill. Third, any time an area of a part is welded the heat treatment, if any, of that part is altered and the part is usually weakened. This may not be a problem on some parts, however on aluminum frames and swingarms the heat treatment is of particular importance for structural integrity. Aluminum frames that have been welded usually become very brittle around the weld joint making the frame more susceptible to cracking in the welded area.
Occasionally, a low strength bolted joint will strip in which case an epoxy can be used to good effect. Perhaps a brass insert or plastic threads have stripped on the fuel tank, airbox, or similar part and you are in need of a solution. By scuffing the area to be epoxied, carefully cleaning, and applying a suitable epoxy, often times the joint can be saved by tapping a threaded hole into the epoxy.
Whatever the case may be using common sense and considering all your options before making any irreversible alterations to expensive parts will be a good step in the right direction. Hindsight is always 20/20 but I want to go over some things that can be done to prevent the stripping of threads in the first place.
Preventing Threading Problems
1. Always make sure the bolt and threaded hole are clean and free of debris before installing the bolt. If necessary, use a wire brush to clean debris from bolt threads and a tap to free debris from the threaded hole.
2. Make sure all parts being clamped together are properly aligned. Don’t rely on the bolt threading into the hole to align parts. You will eventually run out of luck and cross-thread the bolt if you are dependent on this technique. If properly assembled, most joints should easily come into alignment without a great deal of force.
3. Start fasteners by hand and pay attention to how the bolt feels as it threads into the hole. Within the first few revolutions of threading a bolt into its corresponding hole, any cross-threading or other problems will easily be felt before major damage to any threads has occurred.
4. Avoid using an impact wrench when tightening fasteners utilizing a combination of soft and hard materials. As previously discussed, steel bolts into aluminum holes can strip easily if overtightened. Since an impact wrenches cannot meter torque accurately, they should not be used for final tensioning of bolts.
5. Adhere to the torque specs provided in service and owners manuals. Torque specs are established so bolts are not over or under tightened. Like it or not, your arm is not a torque wrench and even some of the most experienced arms have difficulty metering torque correctly without the aid of a torque wrench. For example, most 6mm bolts that thread into aluminum holes only require 10Nm of torque for proper tensioning. 10Nm of torque applied using a torque wrench actually feels like the bolt has been under tightened most of the time. This “loose” feeling makes it very easy to over tighten the bolt when not using the torque wrench. Beware!
6. Make sure there is correct thread engagement before tightening. As a rule of thumb the majority of fasteners will utilize a threaded length at least 1.5 times the diameter of the bolt. For example, a 6mm bolt should have at least 9mm of thread engagement at the minimum. Thread engagement can easily be checked by inserting the bolt into its corresponding hole and measuring the distance from the bolt face to the clamping surface prior to tightening the bolt.
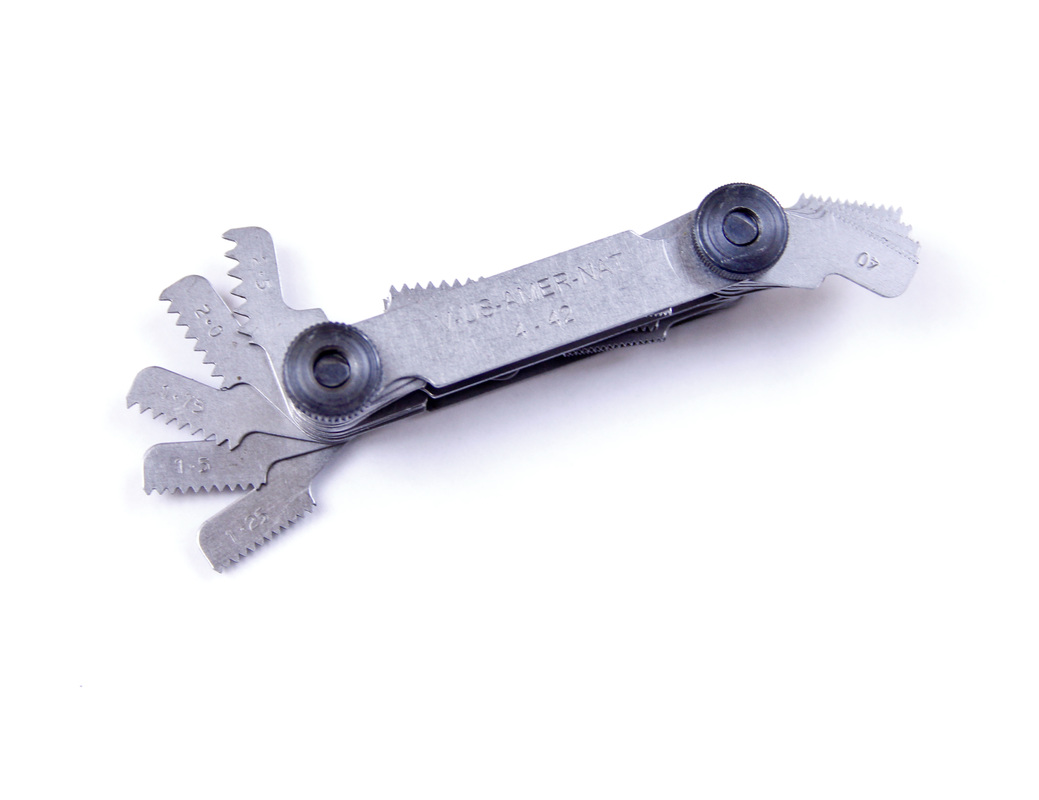
7. When replacing lost bolts confirm thread pitch before installing the bolt. Thread pitch can be confirmed with a trained eye by examining the bolt threads and the hole threads or by using a thread pitch tool to determine the pitch of the hole or bolt threads.
For most metric motorcycles the most common bolt sizes and thread pitches are as follows:
6mm x 1.00
8mm x 1.25
10mm x 1.25
12mm x 1.25
12mm x 1.50
I hope you have found my write up on fixing and preventing damaged threads insightful. If you have noteworthy solutions I have not mentioned, please share them by leaving a comment so everyone can benefit from your tip and experience! If you liked this post and want more free dirt bike maintenance info and tips, subscribe to my newsletter by entering your email below and get weekly posts sent right to your inbox.
Sign me up for the eNewsletter!
I'm ready to take my dirt bike knowledge to the next level.
Good luck with your projects and have a great week!