|
I’ve slowly been accumulating suspension parts so that I can rebuild and change the spring rates on my Triumph Tiger. While I had accounted for all the parts I needed, I realized I forgot to think through the tools necessary to do the job. I’m used to working on twin chamber off-road forks and shocks and the requirements for the cartridge forks differed, as did the shock. Today I want to discuss how to compress the fork springs so that the damper adjuster, spacers, and spring can be removed.
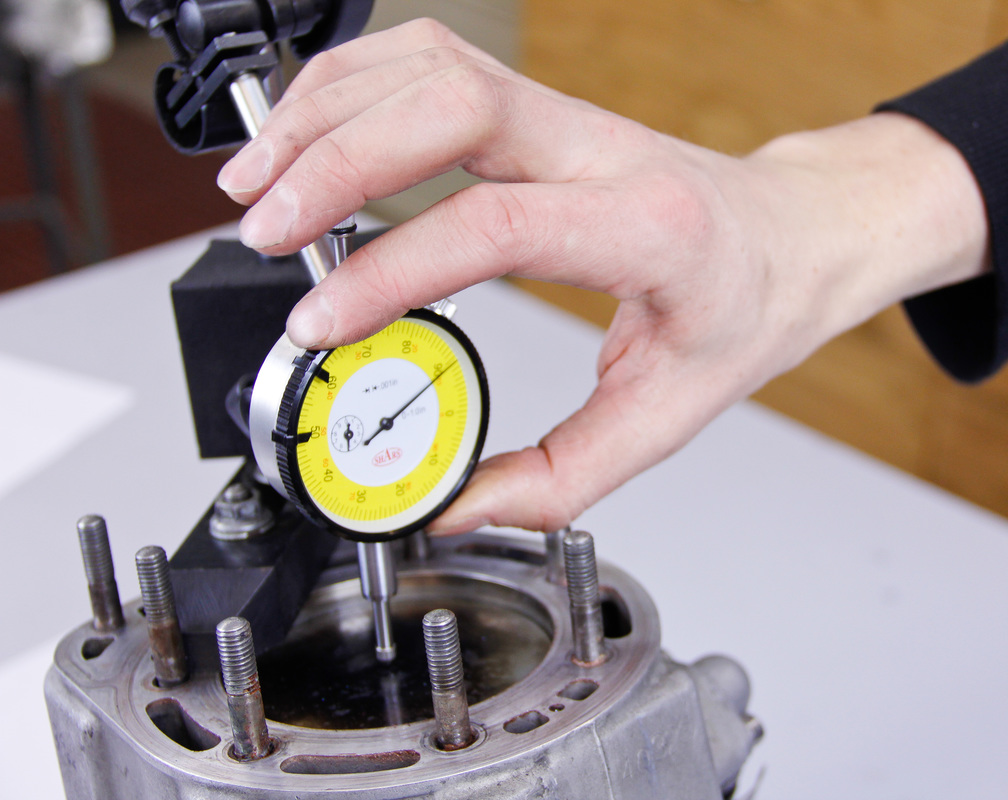
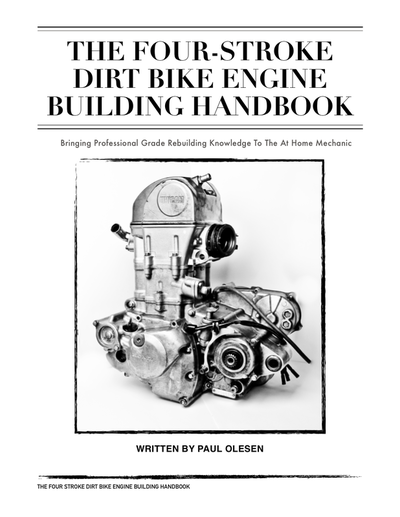
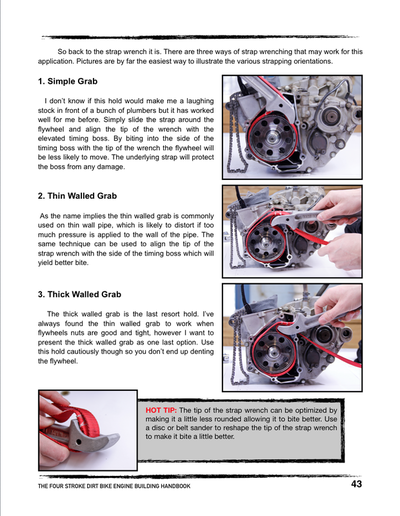
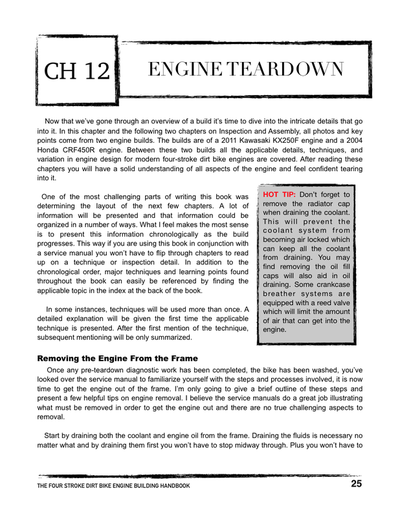
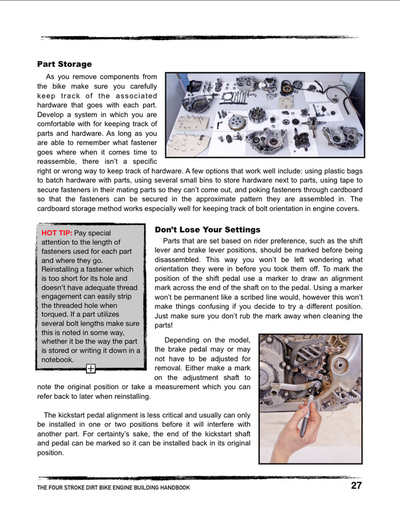
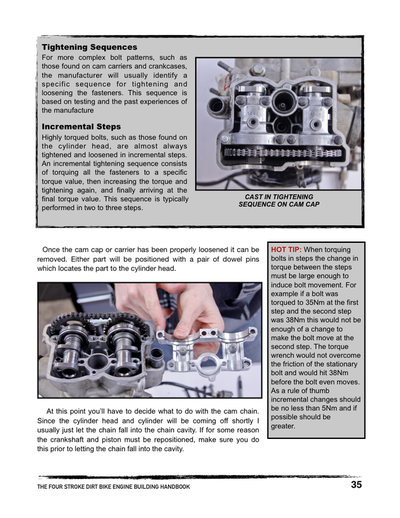
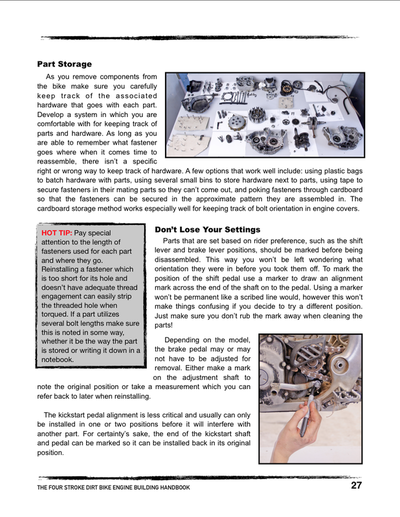
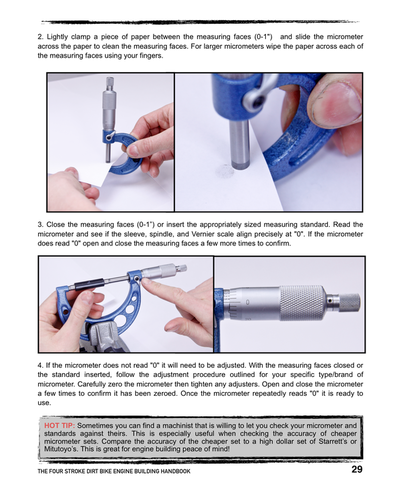
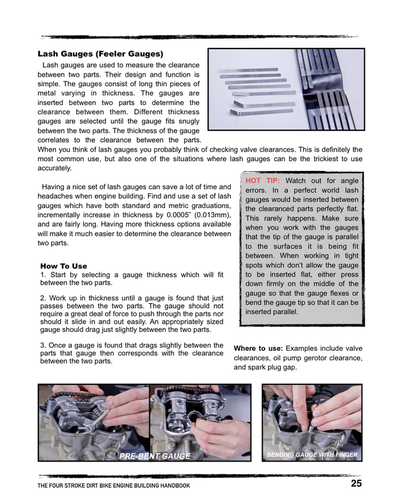
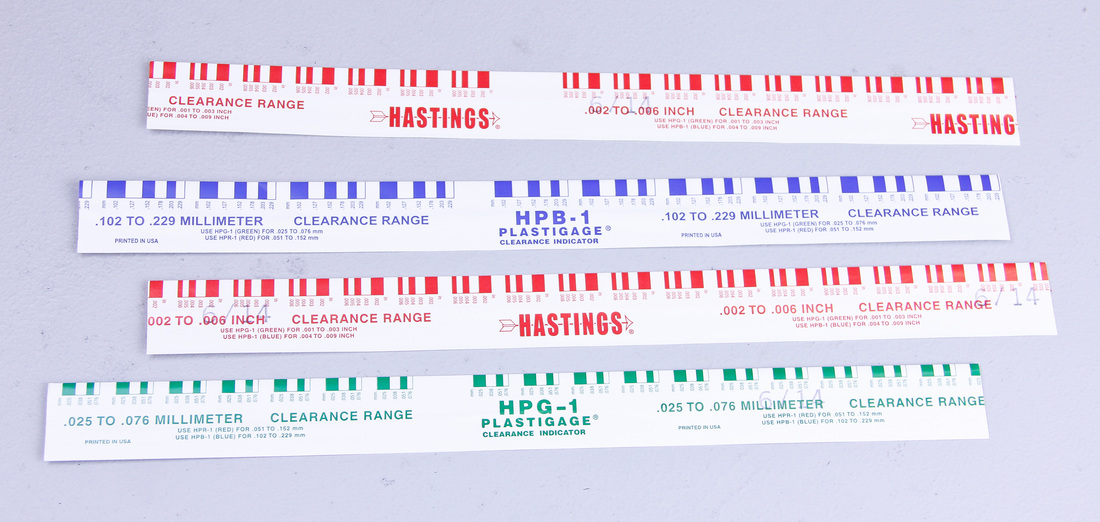
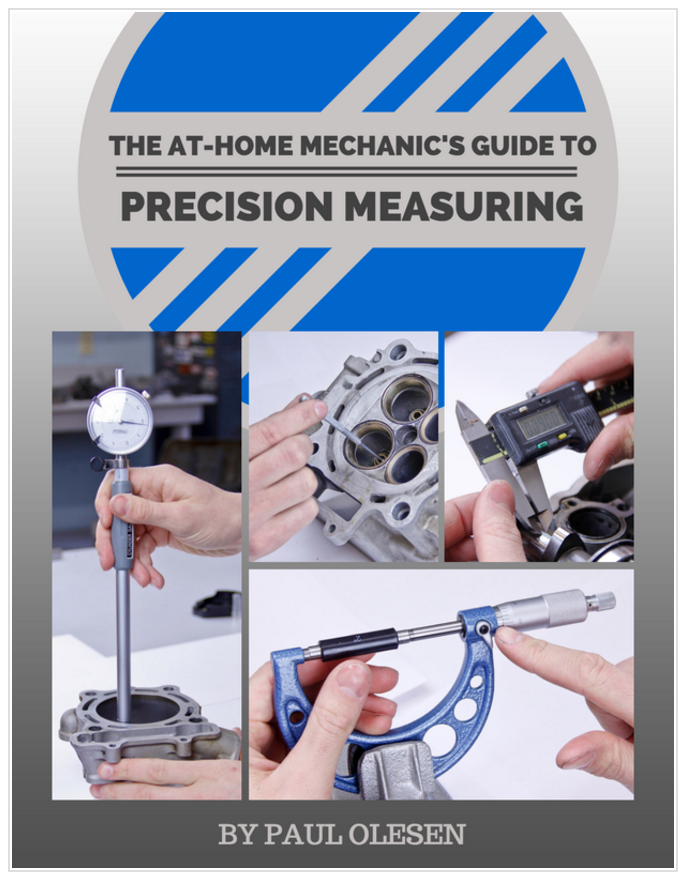
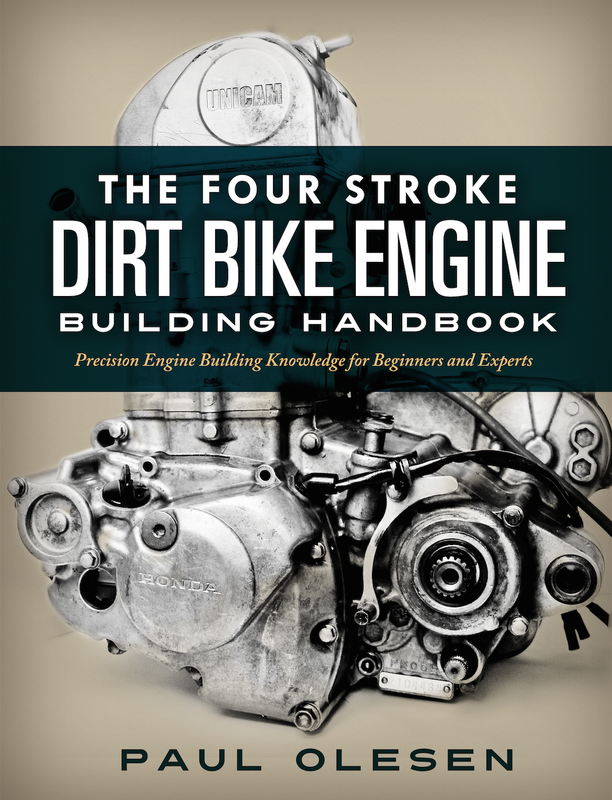
This post was originally published on ThumperTalk and can be viewed by clicking here. As we wrap up this final post on precision measuring from my Engine Building Series, I would love to take a moment and tell you a little bit about the book I just published, The Four Stroke Dirt Bike Engine Building Handbook. As someone who has been following the DIY Moto Fix Engine Building Series posts, I think you're going to love the in-depth knowledge and information provided in this book on dirt bike engine building. The Four Stroke Dirt Bike Engine Building Handbook provides incredible insight on the process of building a four stroke dirt bike engine. I wanted to bring at-home mechanics the level of expertise present in the industry when it comes to engine building, and do it in a way that is accessible and easy to understand. This book is presented in a format that helps both beginners and experts. I not only write about the correct way to rebuild your engine, but also present the technical reasons why things are done the way they are in the engine building world. In addition, I supply information not found in service manuals for building high performance racing engines. Reading this book will also prevent you from making crucial mistakes that many at-home mechanics unknowingly suffer from when rebuilding. Writing this book has been such a blast and I know you will benefit from its immense value if you are planning a rebuild. Here are a few pages from the book to give you a sneak peak on the massive amount of technical content provided for dirt bike engine building enthusiasts. The Four Stroke Dirt Bike Engine Building Handbook is available in both an eBook format and a printed and bound version. Check the book out and learn more by clicking here. Thanks so much for your support and enthusiasm for DIY Moto Fix. Read on for my final post on utilizing the remaining six precision measuring tools. PlastigaugePlastigauge is one of the only measurement tools you won’t mind throwing away once you are done using it. Plastigauge is a measurement tool used to check the clearance between parts. The plastigauge consists of little strips of plastic which are inserted between two parts. Once assembled the plastic strip is compressed. The amount the strip compresses can be measured and correlated to a chart (supplied with the plastigauge) which defines the clearance for the measured compressed width of the strip. For engine building purposes plastigauge is ideal for checking clearances between engine components utilizing plain bearings. The plastigauge is a great tool for confirming clearance and measurements. Another plus is that unlike most other measuring tools, plastigauge is cheap! Plastigauge is usually sold in an assortment of sizes which cover multiple clearance ranges. Plastigauge strips will come in different diameters and each diameter will be capable of measuring a certain clearance range.
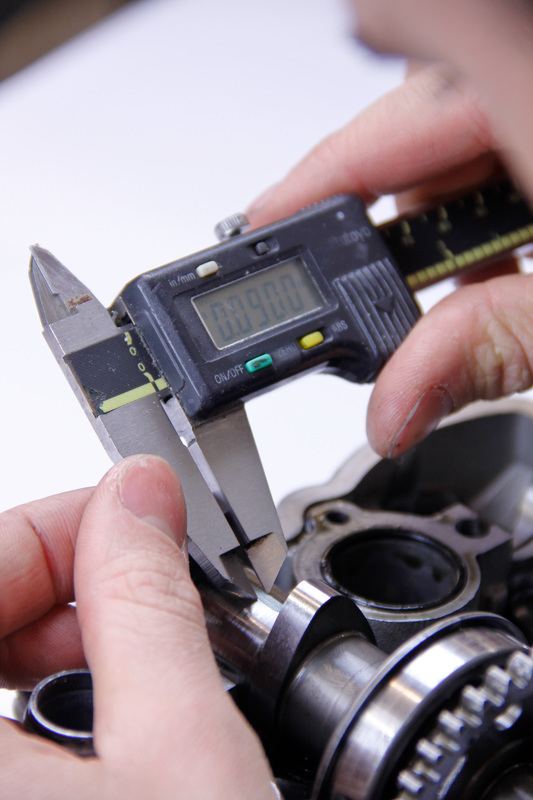
Where to Use: Examples include cam to cam journal clearance, crank bearing to crankshaft journal clearance, and crank pin to rod bearing clearance. Calibrating Plastigauge Finally a measurement tool where no calibration is necessary. Just make sure you choose the appropriate size strip for your application. Also make sure the plastigauge is fairly new. Plastigauge does get old after awhile and using old plastigauge may not yield accurate results. Reading Plastigauge 1. After the plastigauge has been compressed use a calipers to measure the width of the compressed strip. 
How much does a full engine rebuild cost you when you do it on your own? This is a question I see come up a lot in the forums, so I decided to address it again. You can check out an incredibly in-depth post on comparing what shops charge versus doing it yourself by clicking here. Otherwise read on for a great run down of what a full four stroke dirt bike engine rebuild in your own garage costs.
When you are using all OEM parts, which includes all new bearings throughout the engine, a cylinder head (reconditioned or new), new valvetrain, new crank, new piston, new cam chain and tensioner, and a freshly honed cylinder, the cost comes out to be between $1300 and $1500. If some aftermarket parts are utilized, the total cost will be around $300 less than the previously mentioned. Compare that price to $2000+ when you have a shop take care of it. Then add in the fact that when you rebuild yourself, you don't have to worry about someone else mishandling your bike or carelessly assembling your motor. When rebuilding your dirt bike engine yourself, you will know that the job was done correctly and meticulously. Another thing to consider is that once you learn how to rebuild an engine correctly, this knowledge will forever extend the life of your bike(s) and your bank account. How about the cost of a top end overhaul in your own garage? This could run you as little as $260 for a piston replacement, which includes a new piston, rings, circlips, head and base gaskets, and a freshly honed cylinder. Pretty inexpensive right? On the flip side a severely worn out top end which needs every bell and whistle replaced, aka the cylinder, the head, and valvetrain components could cost you $900 in OEM parts plus any machine work that must be done on the head or cylinder. Again, compare this to the $950 to $1500+ range for an in-shop piston replacement. These at-home mechanic perks are completely dependent on you putting the bike together correctly though, because if you don’t it can cost you big time. I read horror stories all the time on forums about guys who have built engines, but by the second or third ride they have grenaded. Most blame the parts, but more often than not the unpleasant truth is that assembly error and lack of attention to detail are the culprits. When I first started tearing into my own bike I made a lot of mistakes that I wish I could have avoided because it did end up costing me in the long run. Looking back now on those rookie rebuilds, after my education as a powertrain engineer and having designed and built an entire motorcycle engine, there were so many things I could have avoided if I had more help. The only thing available to me back then was a factory service manual, but a service manual is only part of the puzzle. For someone who is just getting into the whole rebuild world the service manuals are great for referencing specifications and summarizing procedures. However, the service manuals don't identify key inspection points, tell you what to look for, or instruct on key techniques. Without having years of experience under your belt, you become susceptible to missing critical details and steps throughout the build. Let me add that trying to watch free how-to videos online is a mess as well. After watching as many of these free videos online that I could find, as a professional I wish I could warn at-home mechanics to beware. These videos are poorly made, the attention to detail is nonexistent, the information provided is spotty at best, and the mistakes that can be accrued from trying to reference them can be costly. So how do you learn to rebuild correctly? Once I started pursuing an education and career in the motorcycle industry, I finally learned how to rebuild dirt bike engines the right way. Before this time, I kept on wishing that I had a mentor who could teach me how to do everything correctly. By working with highly skilled and experienced engine builders and engineers on a vast array of different engines, I learned that attention to detail, technique, and understanding how parts interact are all important aspects of rebuilding a healthy engine. Another key to my rebuild success was having the right tools and taking the time to measure things precisely. As I began to rebuild engines more and more, I realized that there are steps in which you need to trust a professional to do the work. Things like cutting valve seats, installing new valve guides, and rebuilding crankshafts are a few examples. Luckily, even with these specialized jobs getting farmed out, over 90% of the rebuild work can be done right at home. This means you still end up saving a ton of money. So how do we bridge that gap for the riders who want to learn how to rebuild their own engines the right way and save themselves money? What if you could have an in-shop mentor?
There are a ton of riders out there who would love to do the work themselves and learn more about the rebuild process, if they could only find a credible source to learn from. That’s where DIY Moto Fix comes in.
My aim is to teach at-home mechanics who want to learn from a professional on how to rebuild their own engines to exceptional industry standards. I want to be that mentor for dirt bikers everywhere that I needed all those years ago. If you want to learn from a professional, fix your own bike, and get back to riding check out my two published books on rebuilding dirt bike engines. You will also find tons of free guides to help get you started. Below are two of my most popular guides to date, with over 5000+ downloads.
Click here for the entire list of free guides I offer and download until your heart's content. Thanks for reading, and best of luck with your next rebuild!
THE TOP 5 SPECIALTY TOOLS EVERY HOME MECHANIC NEEDS TO HAVE TO WORK ON THEIR DIRT BIKE OR MOTORCYCLE11/8/2014
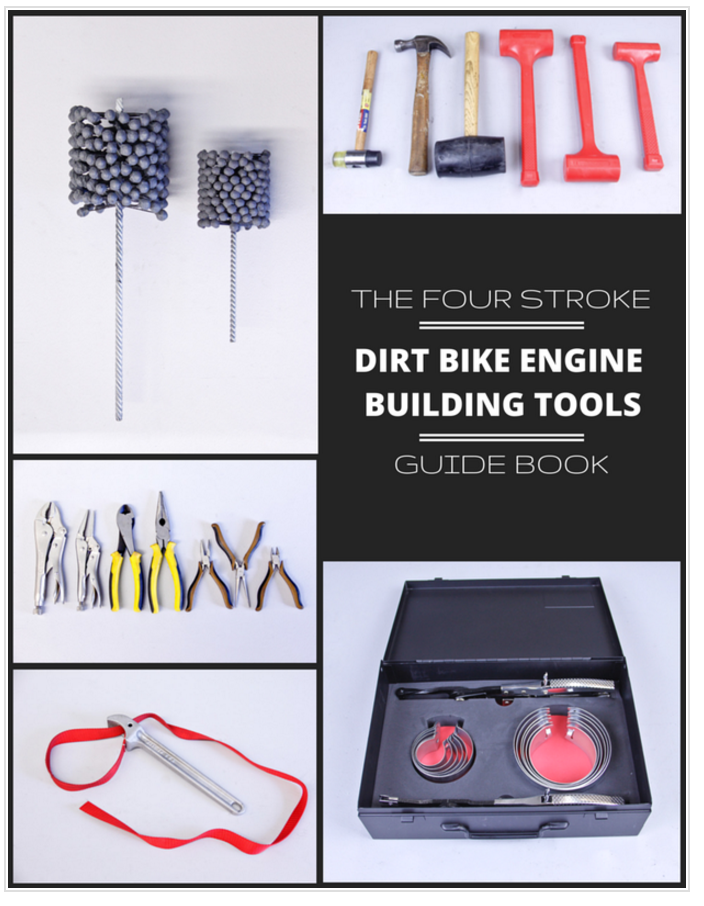
When it comes to being a master at-home mechanic there are a number of tools you should keep in your garage when you need to rebuild your dirt bike or motorcycle engine. I picked out my top five most important specialty tools to share with you and encourage you to add your favorites to the list by leaving a comment. Read on to learn more about these top five tools that are vital for dirt bike or motorcycle engine building.
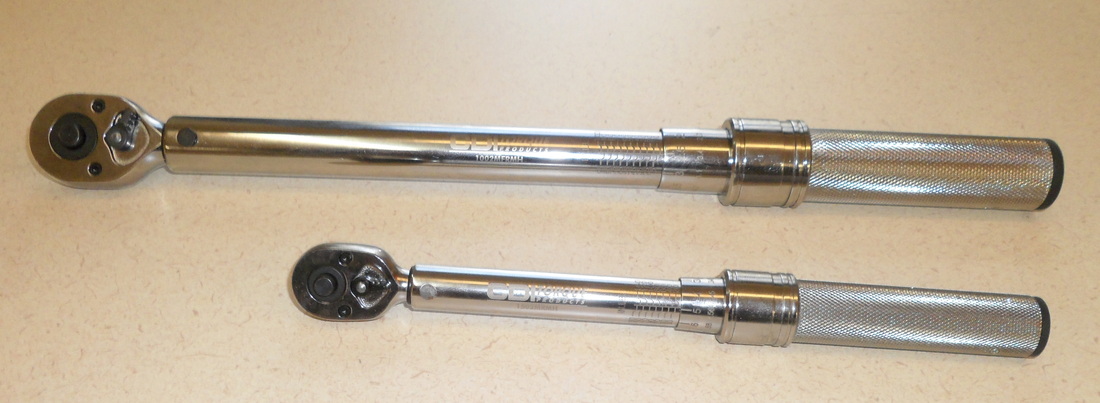
Torque Wrenches
Believe it or not, every nut and bolt on your machine has a torque specification associated with it so that you do not run the risk of over tightening, damaging the fastener, or leaving something too loose. Even simple things, like the bolts holding your plastics on and your seat down, have torque values that you should aim to follow. While you might not get into trouble if you overlook using a torque wrench on these fasteners, I consider everything in the engine torque wrench territory. In order to build a good sound engine it is critical to follow the manufacturer's suggested torque specifications for all the fasteners and use a good quality torque wrench... |
InspirationsCategories
All
Archives
November 2022
Favorite Films |


