For clarity, the above tips are only for single cylinder engines. For multi-cylinder engines additional considerations and precautions need to be taken to ensure the engine doesn't start while performing the compression test. All plug leads will need to be disconnected. If the engine is fuel injected disconnecting the fuel pump or injectors is a good idea too so that fuel doesn't build up in the cylinders or inlet tracts after repeating the compression test for each of the cylinders. For multi-cylinder engines the compression readings should be compared across cylinders. As a rule of thumb if there is a 20% difference across cylinders further diagnostic work should be carried out to determine what the problem may be.
|
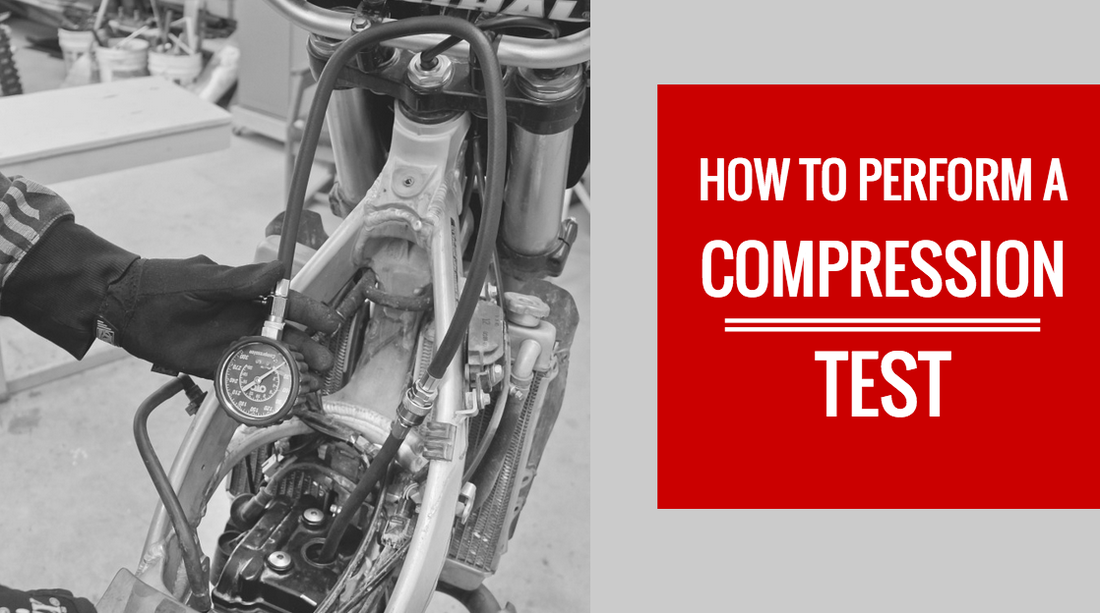
Last week I talked about what a compression test is, touched on some of the finer details you should know about when performing a compression test, and provided information on when it makes the most sense to perform a compression test. This week I’m going to wrap up compression testing by providing a step-by-step write up on how to perform a compression test.
Before getting into the step by step how-to a reader left a comment asking for further information on compression testing bikes with electric starters. I actually believe electric start bikes are easier to test than kick start bikes because the rate at which the engine is turning over is more consistent. My recommendation would be to engage the starter for a set period of time. Around 5 - 10 seconds is usually enough time to crank the engine over sufficiently and obtain an accurate reading. When performing the test you will notice the readings on the pressure gauge will be much more consistent as the engine is turning over compared to what you see on kick start engines. The battery should also be fully charged and in good condition. Apart from using a good battery and establishing a time period where the starter is engaged there isn't much more to it.
For clarity, the above tips are only for single cylinder engines. For multi-cylinder engines additional considerations and precautions need to be taken to ensure the engine doesn't start while performing the compression test. All plug leads will need to be disconnected. If the engine is fuel injected disconnecting the fuel pump or injectors is a good idea too so that fuel doesn't build up in the cylinders or inlet tracts after repeating the compression test for each of the cylinders. For multi-cylinder engines the compression readings should be compared across cylinders. As a rule of thumb if there is a 20% difference across cylinders further diagnostic work should be carried out to determine what the problem may be.
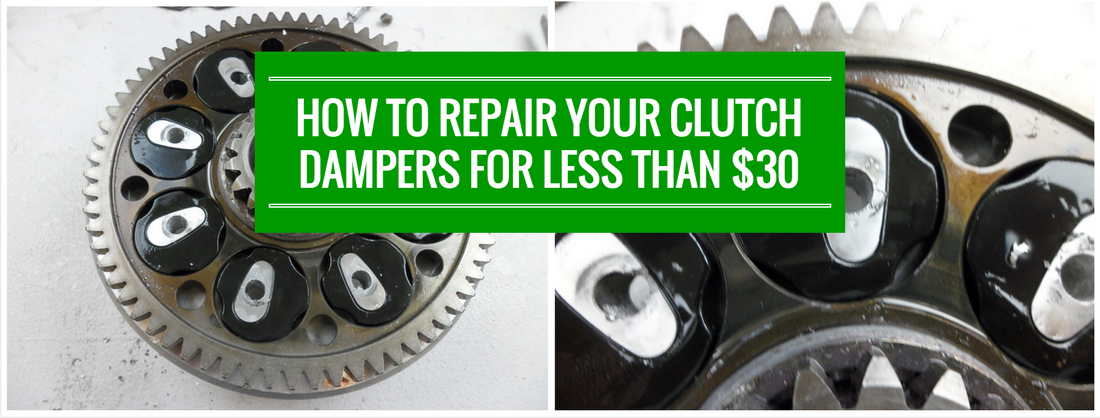
Most modern clutches incorporate rubber dampers which help reduce torque fluctuations through an engine’s drivetrain. Single cylinder engines (four-strokes especially) have high peak torque fluctuations since they only fire once every fourth stroke. The dampers situated between the clutch driven gear and clutch basket help smooth out the delivery of power to the gearbox and rear wheel.
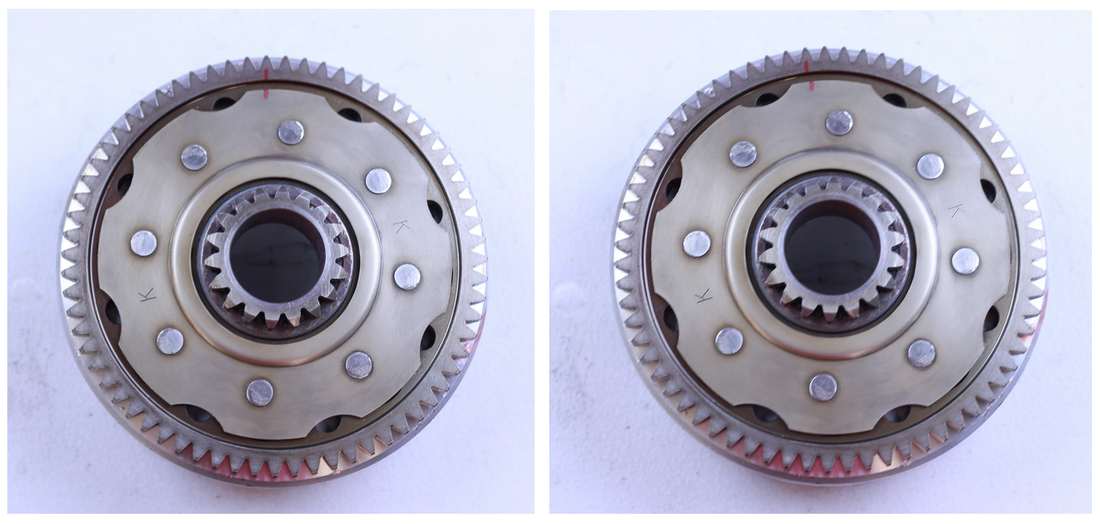
The rubber dampers wear out from normal use and in most cases can be replaced. Replacement of the dampers is a fraction of the cost of buying a new clutch basket, does not require a lot of special tools, and you aren’t out anything if the project doesn’t go as planned. Before I get into the details of replacing the dampers, you are probably wondering how you can tell the dampers are worn out. When the engine is running some additional gear noise coming from the clutch may be noted, but honestly this is a problem difficult to diagnose when the engine is together. Finding this problem is much more likely when servicing the clutch pack or performing other work on the engine. The easiest way to determine if the dampers have worn is by trying to rotate the clutch gear independently from the clutch basket. Depending on how worn the dampers are this may take a little bit of force, so it is best to lock out the clutch gear and primary drive gear. Once locked, the basket can be rotated back and forth to check for free play. Alternatively the clutch gear can be clamped in the soft jaws of a vice while trying to rotate the basket back and forth. The clutch basket should not move independently from the clutch gear. In the first photo note the alignment marks are perfectly aligned. In the second photo the marks have shifted about an ⅛” (3mm). This may not look like much, but it will feel like a lot when you twist the basket.
A lot of folks have inquired about compression testing and how to do them. I want to share my thoughts on compression testing with you, as well as provide you with a detailed write up on how to perform one. I’ll cover this topic in a two part series. If you want more in-depth information on the subject, I’d highly recommend grabbing a copy of my book, The Four Stroke Dirt Bike Engine Building Handbook, which has a great deal more of information on diagnosing engine problems and how to rebuild.
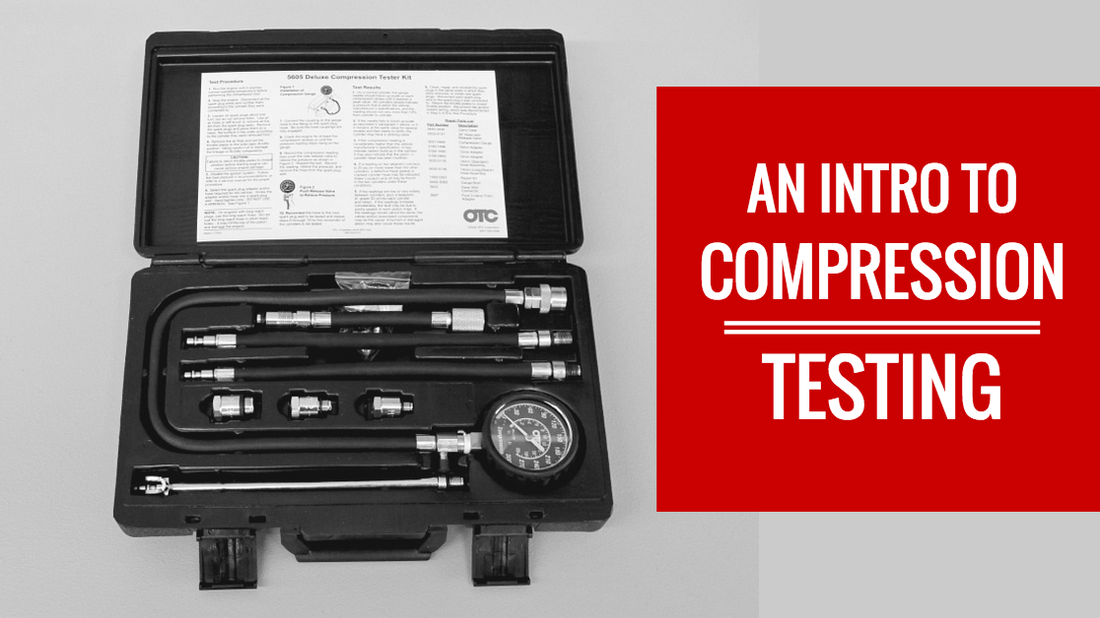
In this first part of the series I’m going to provide a general overview and discuss some of the finer details regarding compression testing that can be overlooked. In the second part I’ll show you how to perform a compression test. What is a compression test? A compression test measures the peak pressure in the engine’s cylinder as the engine is turned over, or a reduced cylinder pressure value if the engine is equipped with a decompression system. |
InspirationsCategories
All
Archives
November 2022
Favorite Films |

