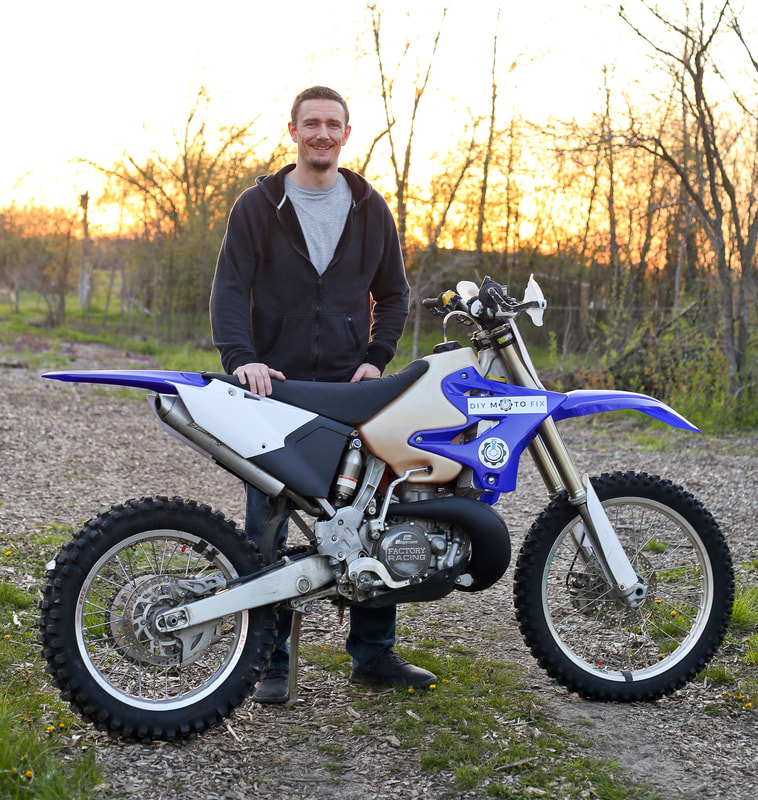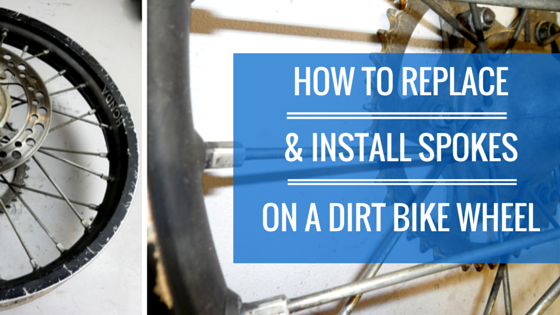
How many of you become disheartened when spokes break, bend, or a rim becomes permanently damaged necessitating a rebuild of the wheel? I know a lot of people think rim building is a black art and are willing to shell out serious dough to avoid the job altogether. This week I want to debunk the black art of wheel building and provide you with an overview of the process, allowing you to take on your next wheel build yourself. Next week, I’ll cover the second half of the project by showing you how to true the wheel.
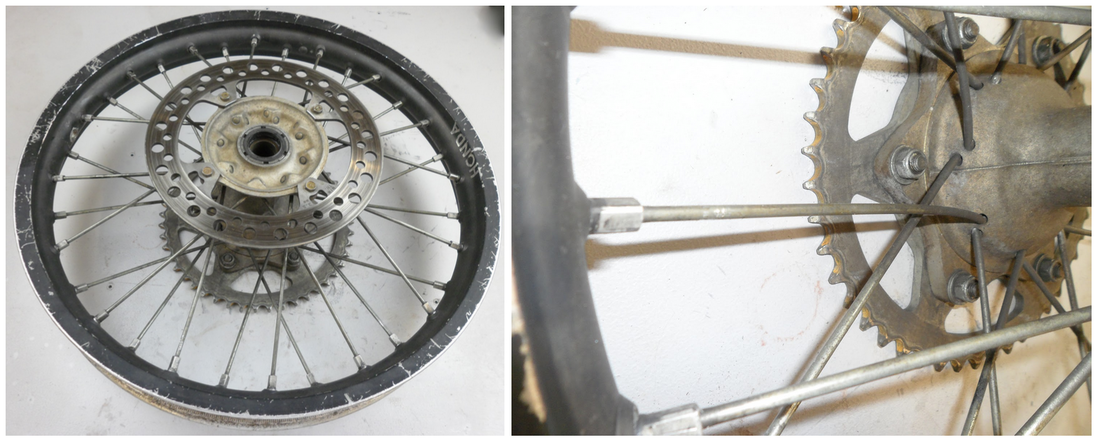
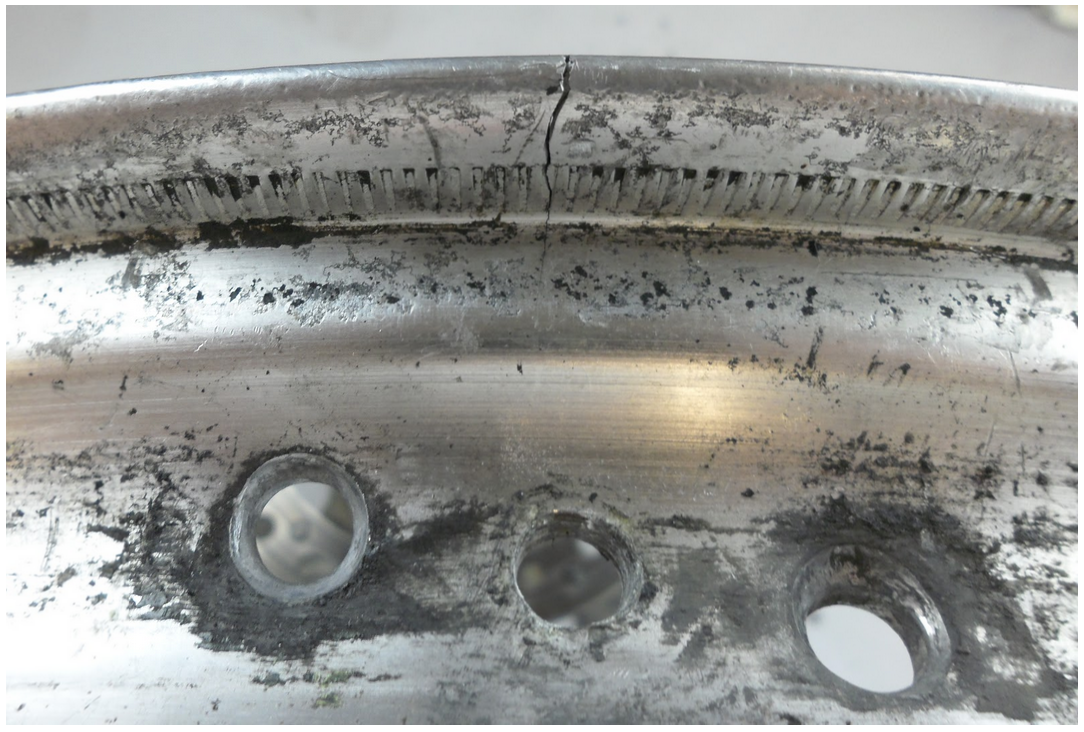
As you can see I have a great example of a wheel assembly that is way past its prime. The spokes are bent, loose, and the nipples are mostly all stuck. On top of that, the rim is cracked in a couple spots necessitating further repairs.
As you can see I have a great example of a wheel assembly that is way past its prime. The spokes are bent, loose, and the nipples are mostly all stuck. On top of that, the rim is cracked in a couple spots necessitating further repairs.
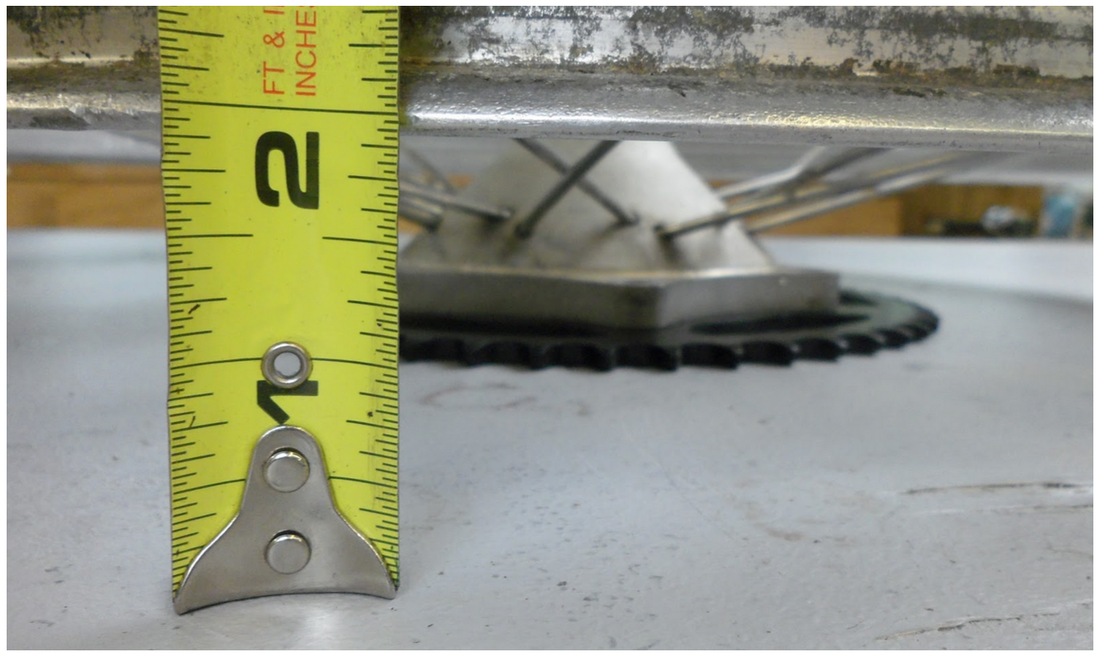
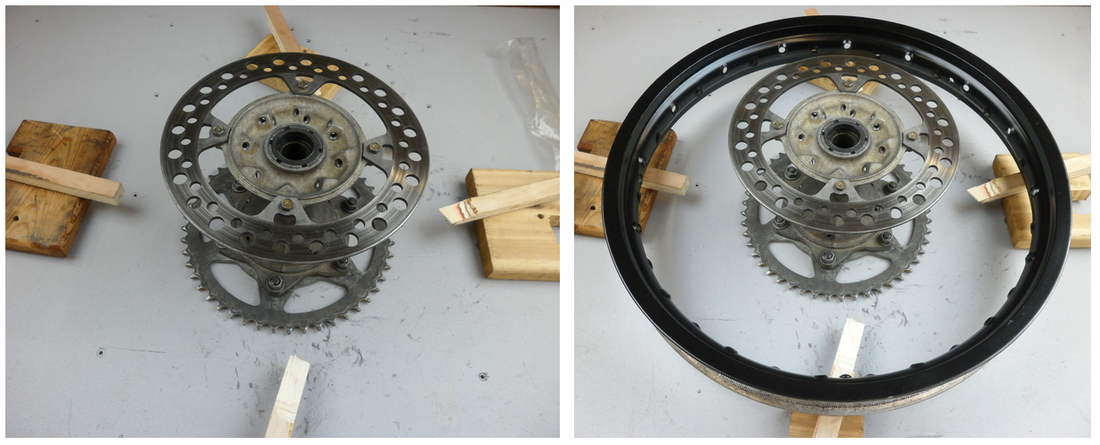
Before getting started disassembling the wheel, measure the distance from the rim to the ground. When the wheel is built the rim will need to be blocked up at approximately this height. Blocking the rim up will make the wheel much easier to assemble.
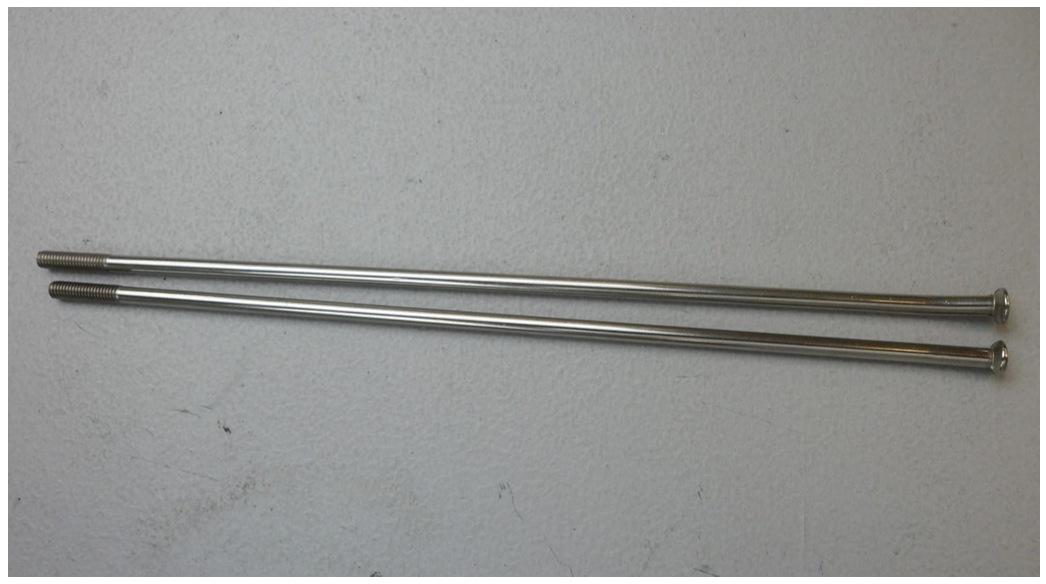
The spokes will be offset from one another. Often times this offset necessitates the use of different length spokes. The spoke kit I received came with two different length spokes and there was no indication of which went where. If there are no instructions provided with your spoke kit and your wheel features spokes of different lengths you will need to determine the correct layout of the spokes. This can easily be done by removing two of the old spokes, measuring them, noting their lengths, and positions.
Once you have determined the spoke length you can go to town cutting the rest of the spokes out of the rim using a cutting wheel or other suitable tool.
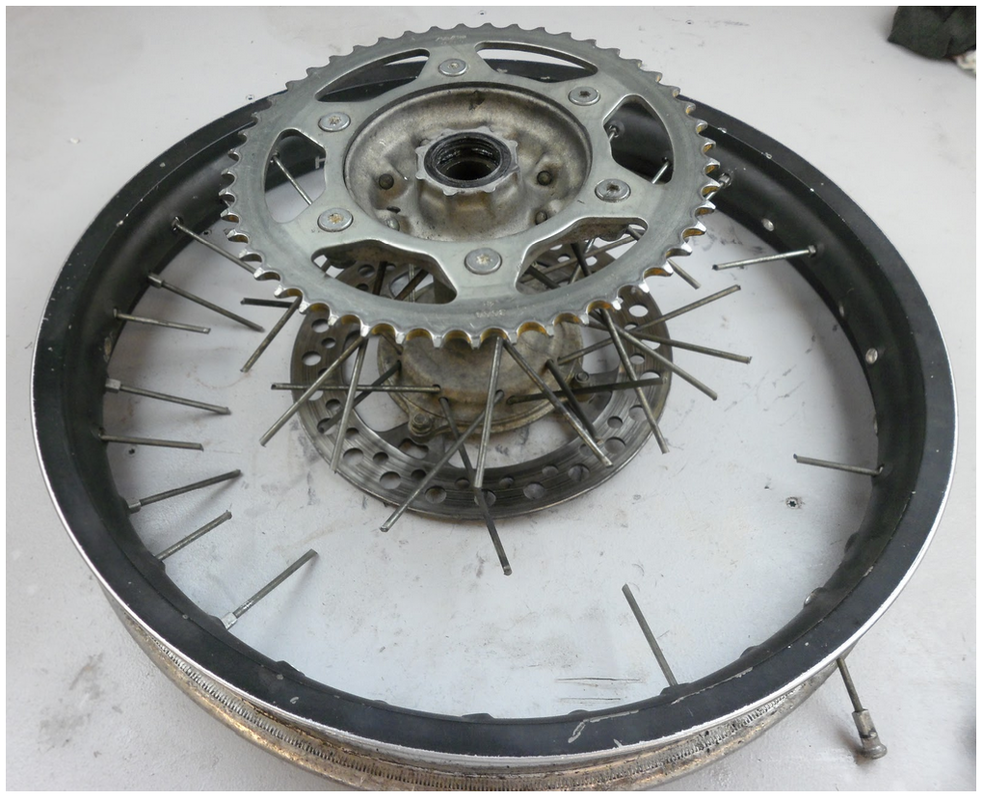
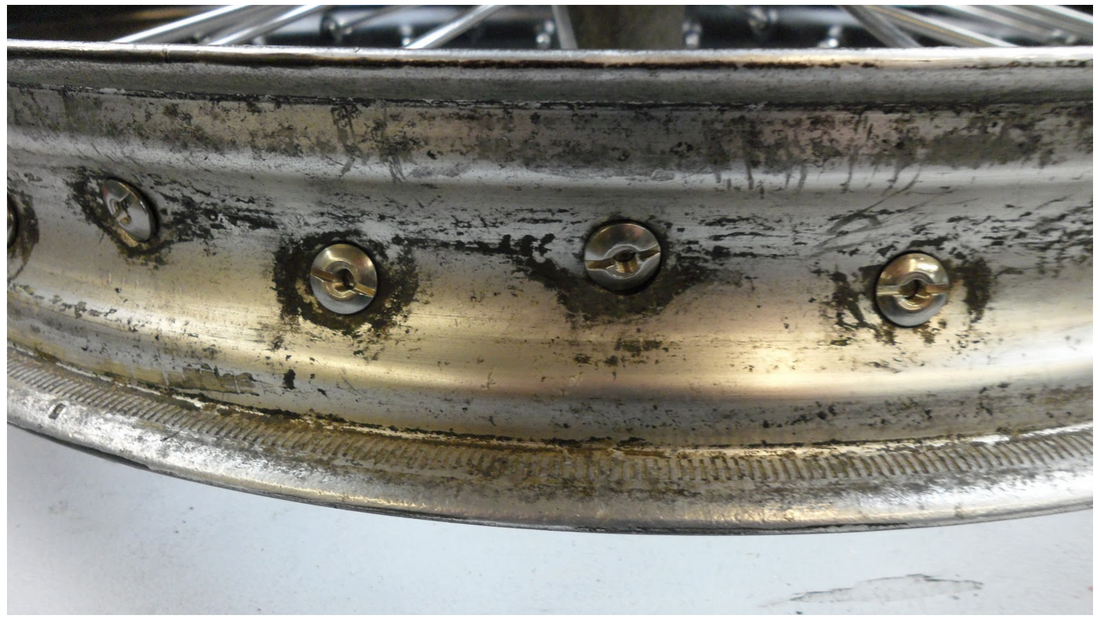
Remove all the old spokes, then closely inspect the rim for damage. On my rim I had two nice size cracks I had to deal with.
|
|
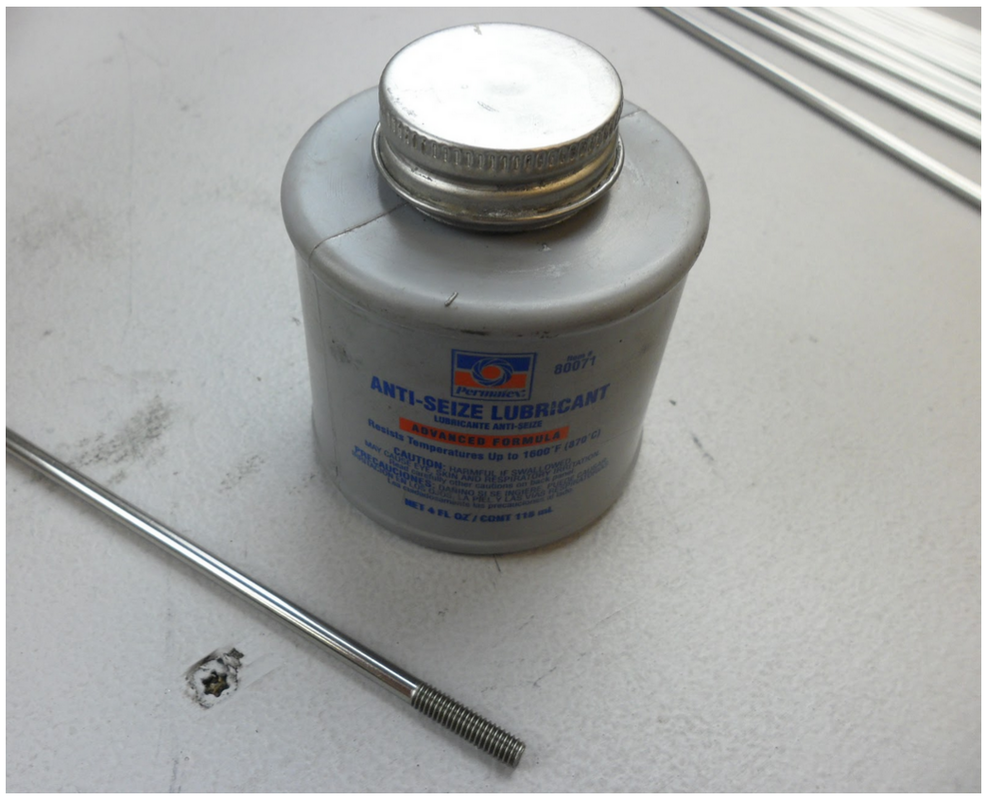
Once the rim has been replaced or repaired, preparations for lacing can begin. Since the wheel will be exposed to dirt, mud, water, and whatever else nature throws at it, I like to coat all my spokes with anti-seize before assembly. The anti-seize will provide a little extra protection against corrosion and help keep the spokes turning freely for a long time.
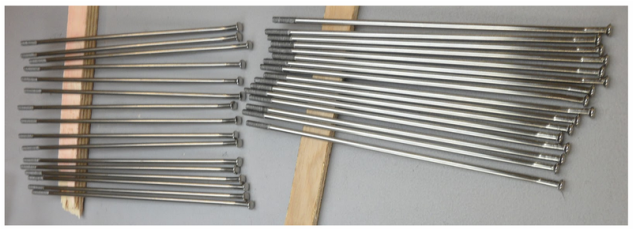
Separate the spokes according to their lengths so that there is no confusion during assembly.
Next, center the hub and block up the rim. Refer back to the measurement you took to establish the correct block height. As long as the rim is not offset to one side or the other it will not make a difference whether you start with the sprocket or brake side.
The outside spokes will be laced first. If you try the inside route you will quickly find that maneuvering the outside spokes into position won’t be possible. Simply install a spoke into its corresponding hole in the hub then align the spoke with its corresponding hole in the rim. The rim may require some rotating to align the spoke with the correct hole in the rim, however it will be glaringly obvious where the spoke must go since the holes in the rim are all angled.
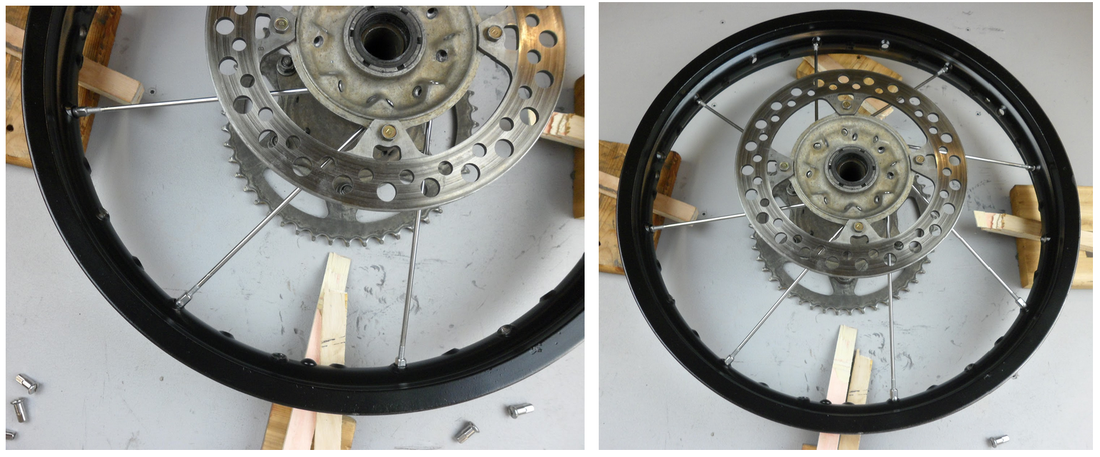
As the spokes are installed, thread on nipples to retain the spokes. Only engage a few threads as you install the nipples. Keeping the rim loose will allow all the spokes to be installed easier as you go.
Once all the outside spokes have been laced in one side, lace all the inside spokes on that side. Don’t be afraid to pull the rim a little bit from side to side to help generate enough clearance so that the end of the spoke can easily pass through the hole in the rim. The rim may also have to be moved up and down a little bit to help center the spoke.
Once all the outside spokes have been laced in one side, lace all the inside spokes on that side. Don’t be afraid to pull the rim a little bit from side to side to help generate enough clearance so that the end of the spoke can easily pass through the hole in the rim. The rim may also have to be moved up and down a little bit to help center the spoke.
Next, flip the wheel over and begin lacing all the outside spokes on the remaining side. Pulling the rim from side to side and up and down will be necessary to get all the spokes aligned with their respective holes. By the time you are finished lacing you should have a nice fresh wheel assembly.
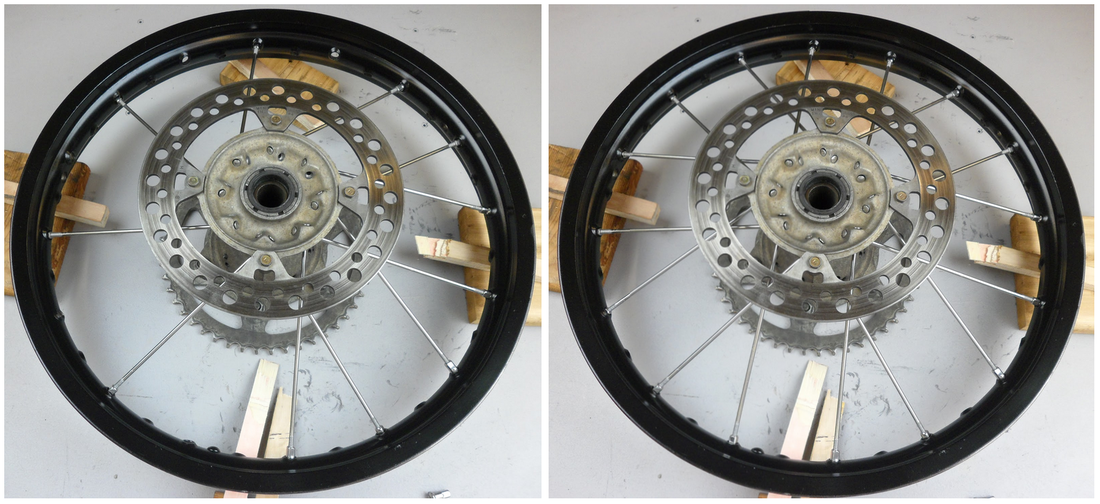
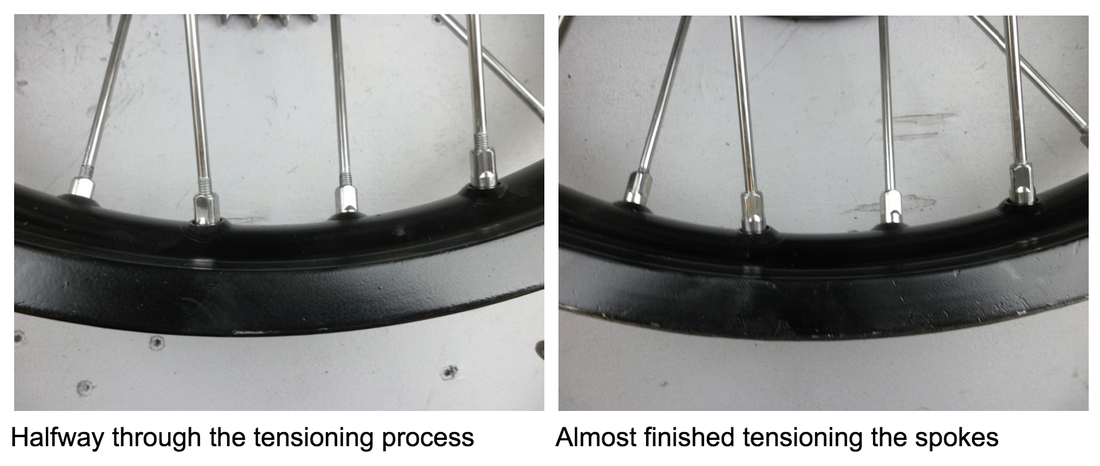
A good way to check to make sure the spokes have been installed correctly is to compare the thread engagement on each spoke. With all the nipples tightened only a few turns the remaining threads showing on the spokes should be about the same. If the remaining thread length is vastly different between the inner and outer spokes there is a good chance the spokes have been installed incorrectly. If this is the case, the longer spokes will need to go where the shorter ones currently reside to even things out. If this isn’t done, there is a good chance some of the spokes will run out of threads when the spokes are tightened.

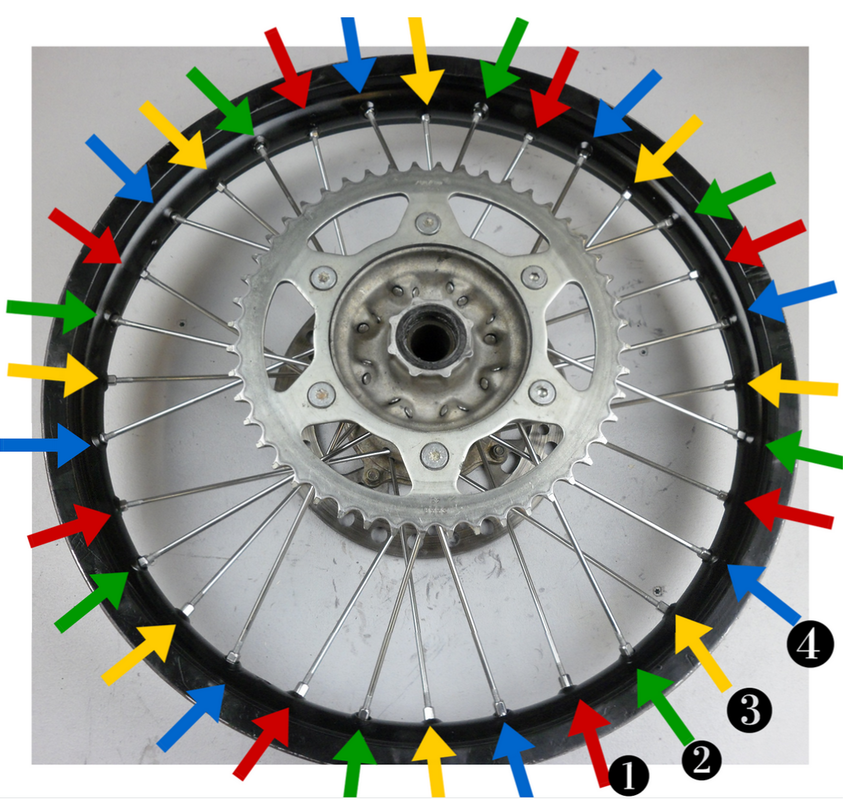
After the wheel has been laced, the nipples on all the spokes will need to be tightened. Tightening of the nipples should be done evenly and gradually. An even pattern can be used to tighten the spokes so that the rim does not become offset radially in one direction. Most wheels either feature 32 or 36 spokes. Every 4th spoke can be tensioned to create an even 8 or 9 step tightening pattern. Once this pattern is completed, the next spoke in the sequence can be tightened and the whole process repeated until you have worked through all the spokes. In the picture below all the red arrowed spokes are tightened first, followed by the greens, then the yellows, and finally the blues.
As the nipples are tightened, checking for evenness among the remaining threads is a nice way to gauge symmetry. You may find that there are small differences between the inner and outer spokes in relation to the remaining threads left on them. Instead of comparing the inner and outer spoke threads to one another, only compare similar length spokes as you work. The more care you take to ensure the spokes are tensioned evenly now, the less work it will be to true the rim later on.
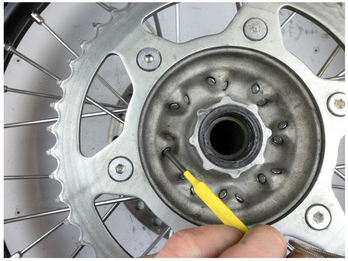
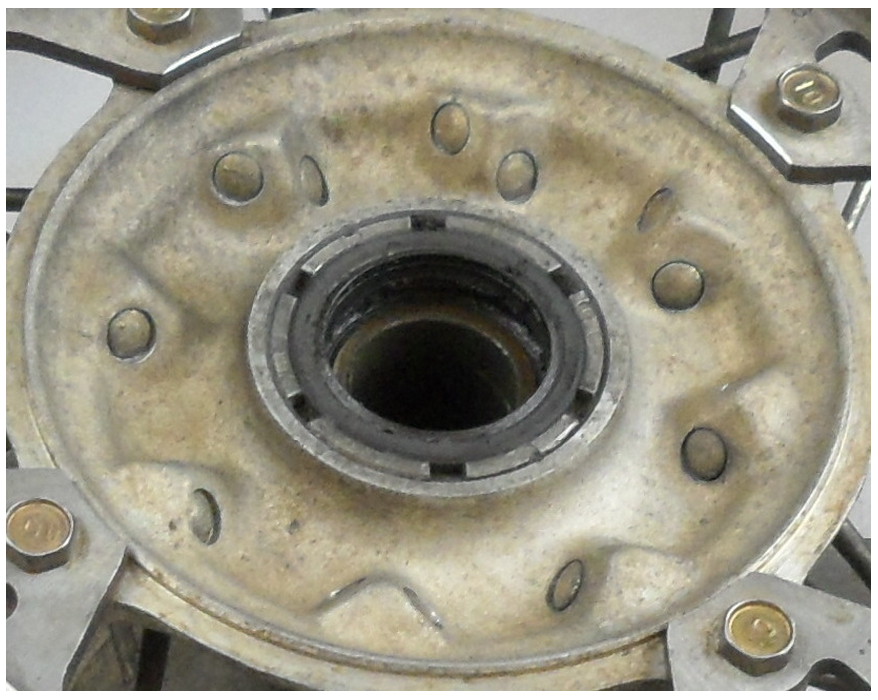
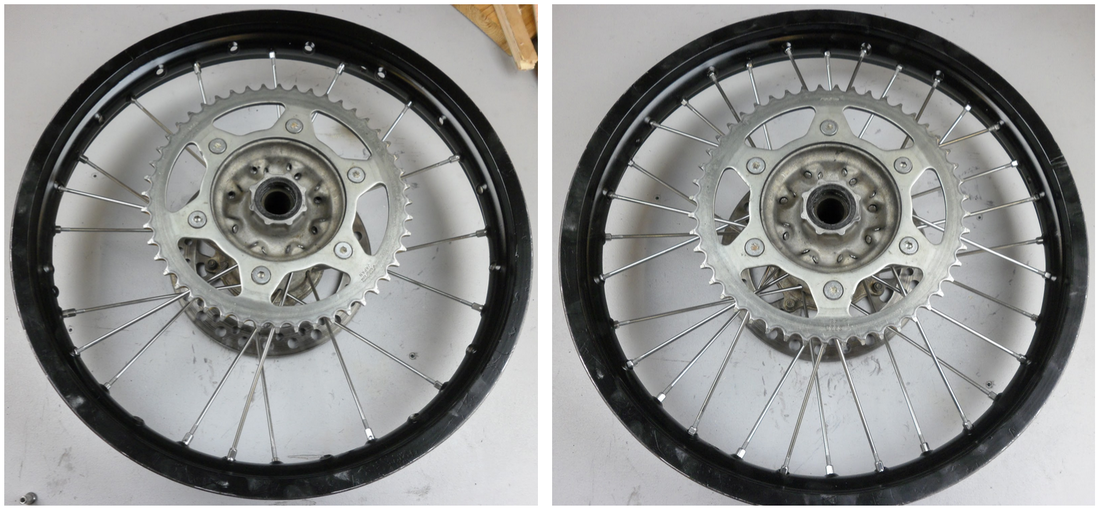
Check to make sure that the heads of the spokes fully seat in their holes in the hub. Some heads may get hung up and will require a tap with a punch and hammer to seat them. Relying on the nipple to pull the head into position doesn’t always work well.
Another sign that the job has been done properly is that the spokes will not pass through the ends of the nipples.
Another sign that the job has been done properly is that the spokes will not pass through the ends of the nipples.
At this point you should have a rim that feels tight, is tensioned evenly, and is ready for truing. Check back next week for a write up on the truing process!
If you found this post beneficial and enjoy tackling projects yourself, you may find my eBook, The Four Stroke Dirt Bike Engine Building Handbook a great read. The book is packed full of in-depth precision engine building knowledge, a detailed overview of performance part selection, and many photographic examples which outline what to look for in problematic parts during a build. The eBook comes in PDF format, is sent immediately to your email inbox, where you can read it or print it off and bring it into your workshop. Right now we have an awesome deal running where all website visitors get 20% off when they enter the discount code fixityourself2015 before purchasing. To learn more about the book, check out the Table of Contents, and read some testimonials, click here.
Do you have any helpful tips you want to add? Please leave a comment below and share your experiences! If you loved this post, feel free to sign up for my eNewsletter where I'll send weekly dirt bike maintenance tips and tricks right to your email inbox.
Sign me up for the eNewsletter!
I'm ready to take my dirt bike knowledge to the next level.