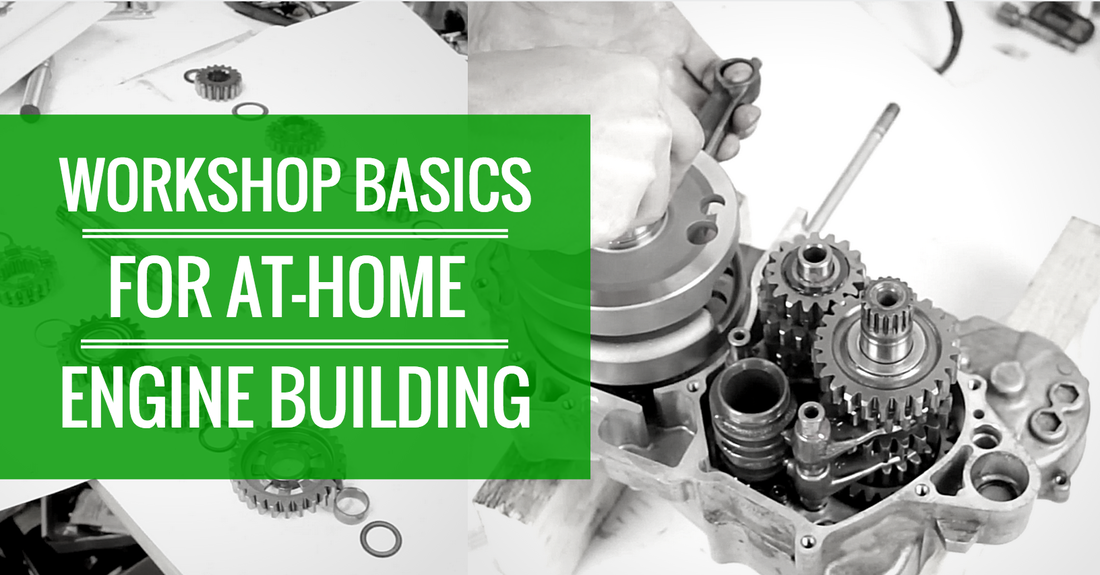
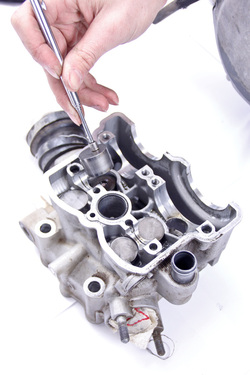
I like to compare building an engine to performing open heart surgery. The precision and organization that goes into open heart surgery is exactly the mindset you need as you begin to rebuild your engine. Just like an operating room, I require my workspace to be as clean as possible. In the industry, companies have dedicated rooms just for engine building. These rooms are equipped with dust management systems, precise temperature control, and spotless work surfaces. I don’t expect the home mechanic to have this intense of a setup, but you should aim to have the cleanest work area possible.
WORK SURFACES
One of the first things you will need to do is make sure the area you are working in is free of dirt. Use a vacuum to suck up dirt from work surfaces and the floor. Occasionally you’ll drop a part on the floor and the last thing you want is for it to wind up covered in dirt. This should go without saying, but don’t try building an engine where metal is being ground or cut.
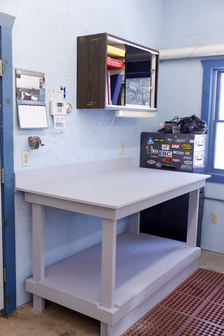
Until recently, my workbench was old and the work surface wasn't the smoothest or cleanest. It is difficult to get all the dirt out of plywood so I like to line my plywood tops with paper or cardboard then replace as often as necessary throughout the build to ensure cleanliness is kept up. This practice ensures I’m not working on a dirty surface and exposing parts to unnecessary dirt which could cause scratches or damage. If you have the luxury of working on a laminate counter top or other hard smooth surface more power to you. Just remember to wipe the surface clean as you go to keep dirt to a minimum.
One of the first things you will need to do is make sure the area you are working in is free of dirt. Use a vacuum to suck up dirt from work surfaces and the floor. Occasionally you’ll drop a part on the floor and the last thing you want is for it to wind up covered in dirt. This should go without saying, but don’t try building an engine where metal is being ground or cut.
Until recently, my workbench was old and the work surface wasn't the smoothest or cleanest. It is difficult to get all the dirt out of plywood so I like to line my plywood tops with paper or cardboard then replace as often as necessary throughout the build to ensure cleanliness is kept up. This practice ensures I’m not working on a dirty surface and exposing parts to unnecessary dirt which could cause scratches or damage. If you have the luxury of working on a laminate counter top or other hard smooth surface more power to you. Just remember to wipe the surface clean as you go to keep dirt to a minimum.
TEMPERATURE
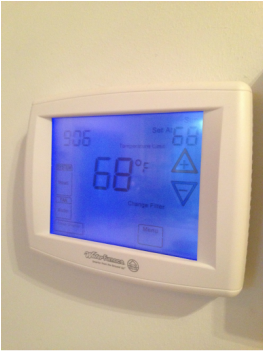
The temperature of your build area is extremely important. Parts are designed, manufactured, and inspected at 68°F (20°C). This means that in order for you to correctly measure a part during your build it should be at the standard temperature of 68°F. As long as you are close to 68°F you’ll be fine, however building an engine in a cold unheated garage in the dead of winter may not yield accurate results. Conversely, measuring parts in a sweatbox of a garage without air conditioning will not work that well either.
Keep your workshop's temp at 68°F (20°C) to ensure that all measurements are accurate and precise, your engine will thank you for it!
TOOL STORAGE
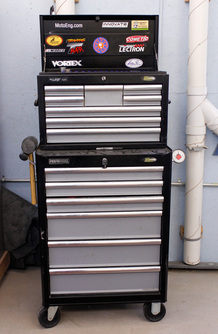
Tool storage and how you choose to handle your tools throughout the build comes down to personal preference. My tools are stored in a two level rolling toolbox. I can easily roll my toolbox from the motorcycle lift to my workbench once the engine has been removed.
Another tip is instead of putting tools away after you've used them for a given task, leave them out. By keeping them neatly organized and readily available you don’t have to go digging for them later down the road. The tools I frequently use are set either on my workbench or on a rolling cart so I can quickly grab them throughout a build. It saves you a few seconds or minutes here and there, but it definitely adds up to a hefty amount of saved time over the course of a full engine rebuild.
QUALITY LIGHTING
Lighting is one area that can be overlooked for many home mechanics. Make things easy on your eyes and be sure you have a good source of lighting where you are working. This way you’ll easily be able to see the wear in used parts, accurately read measuring equipment, and correctly assemble new parts. I prefer good overhead lighting when available, but when overhead lighting is unavailable good portable lighting can be just as effective. Portable lights affixed to stands that can be raised above shoulder level work well.
I stumbled on this tip completely on accident when doing a photo shoot for some engine components, but having cheap photography studio lights is a great source of lighting when rebuilding. I used three cheap photography studio lights in my shop while working, think of them like the dentist's adjustable overhead light when cleaning your teeth. Here are the ones I bought and use.
PARTS STORAGE
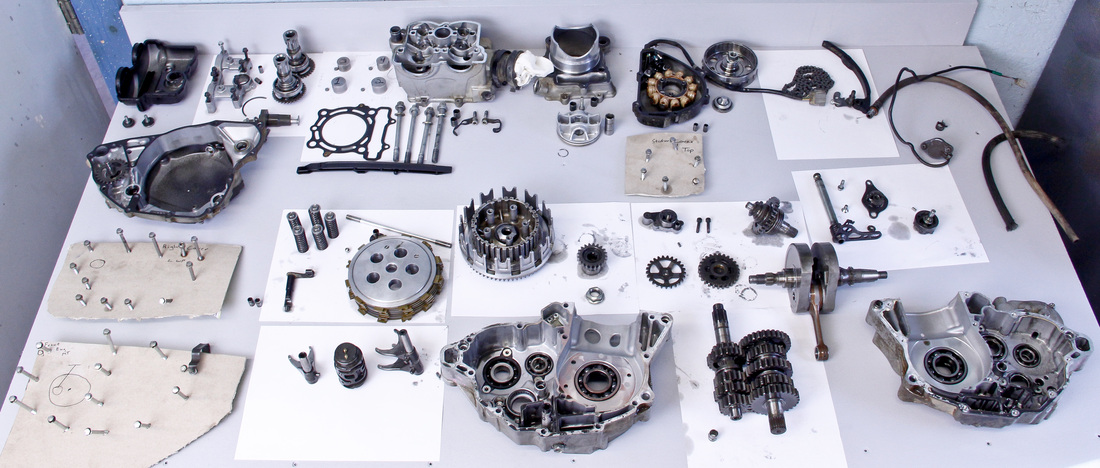
Allocating space to set parts aside as they are disassembled is important. Laying out and keeping a completely disassembled engine organized requires some room. A 3’ x 4’ area dedicated to storing disassembled engine parts will usually work. Alternatively a rolling cart with multiple levels is a handy option as it allows better organization and you can wheel parts around with ease. Make sure you are storing parts on nice smooth soft surfaces. Laying out parts on something like a grated metal shelf or work top wouldn’t be a good idea as the parts could be damaged when they contact the surface. This is especially true of gasket surfaces on covers which mar pretty easily. Another must is to never stack parts on top of one another. Make sure the area you have chosen to lay out parts is dirt and dust free throughout the build.
Are you a dirt bike engine building enthusiast? Do you love working on your engine and bringing your two or four stroke to its highest state of tune? Then you are going to love the in-depth precision engine building knowledge I am providing for at-home mechanics and experts in my books:
If you enjoyed this post and want more professional tips and techniques on dirt bike engine rebuilding subscribe to my eNewsletter! It's completely free and full of in-depth knowledge and insight on the engine building world.
Allocating space to set parts aside as they are disassembled is important. Laying out and keeping a completely disassembled engine organized requires some room. A 3’ x 4’ area dedicated to storing disassembled engine parts will usually work. Alternatively a rolling cart with multiple levels is a handy option as it allows better organization and you can wheel parts around with ease. Make sure you are storing parts on nice smooth soft surfaces. Laying out parts on something like a grated metal shelf or work top wouldn’t be a good idea as the parts could be damaged when they contact the surface. This is especially true of gasket surfaces on covers which mar pretty easily. Another must is to never stack parts on top of one another. Make sure the area you have chosen to lay out parts is dirt and dust free throughout the build.
Are you a dirt bike engine building enthusiast? Do you love working on your engine and bringing your two or four stroke to its highest state of tune? Then you are going to love the in-depth precision engine building knowledge I am providing for at-home mechanics and experts in my books:
- The Four Stroke Dirt Bike Engine Building Handbook.
- The Two Stroke Dirt Bike Engine Building Handbook
If you enjoyed this post and want more professional tips and techniques on dirt bike engine rebuilding subscribe to my eNewsletter! It's completely free and full of in-depth knowledge and insight on the engine building world.
Sign me up for the eNewsletter!
I'm ready to take my dirt bike knowledge to the next level.
Do you have any workshop tips you'd like to suggest? Leave a comment below and share your tricks with the DIY Moto Fix community!
-Paul Olesen
-Paul Olesen