|
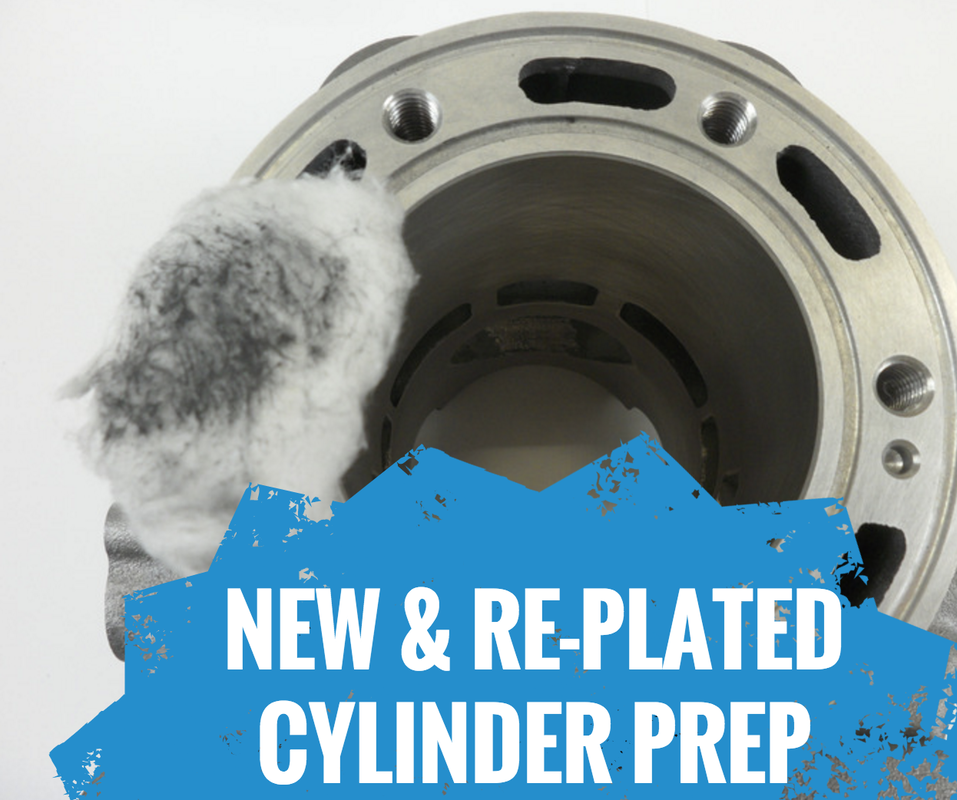
Today I want to share some pointers on preparing new or re-plated cylinders that will help ensure your engines run stronger and last longer.
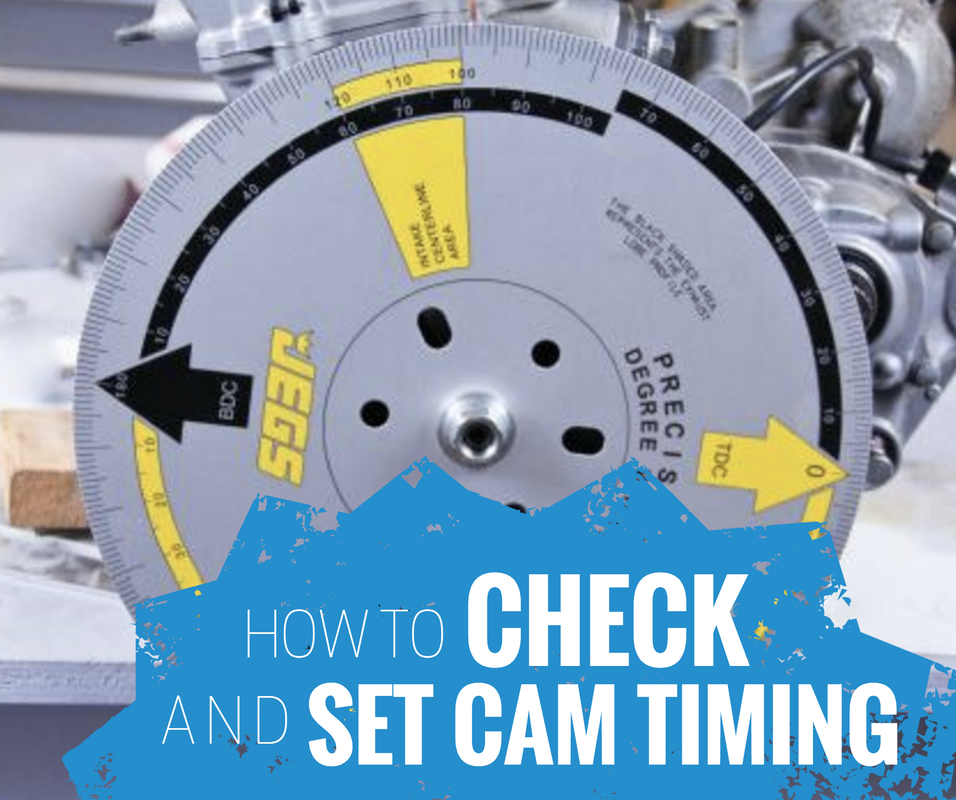
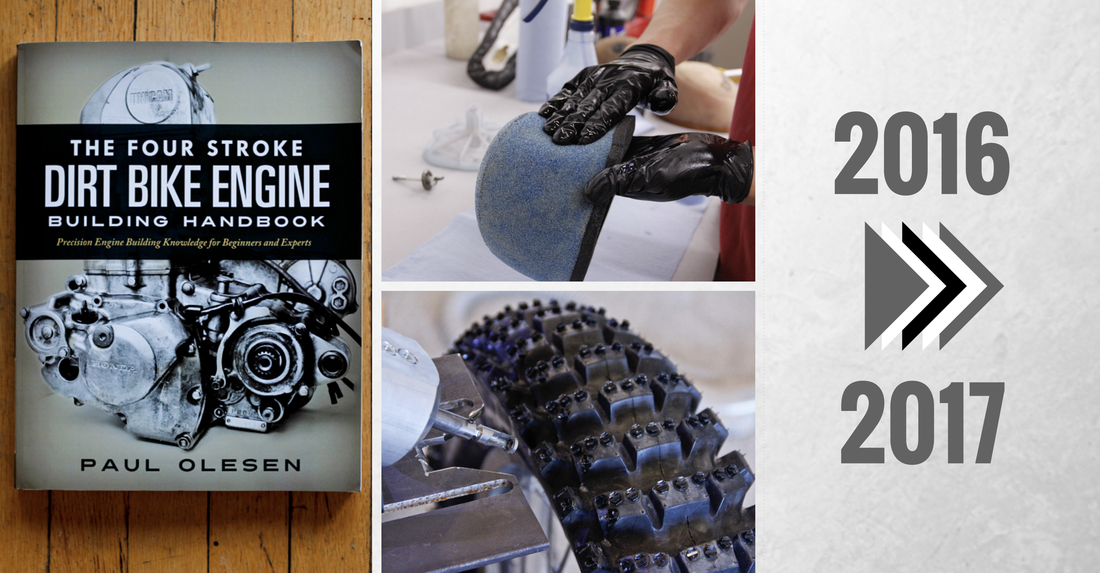
Today I'm going to cover how to check and set cam timing, which is something you can do if you have adjustable cam gears in your four stroke dirt bike engine. This is a procedure often performed by race engine builders to ensure the valvetrain performs just as they intend, and ultimately so that they extract the desired performance out of the engine. Adjustable cam gears typically aren't a stock option but are abundantly available in the aftermarket. The following text is exerted from my book, The Four Stroke Dirt Bike Engine Building Handbook, so if you find this info valuable please take a look at the entire book.
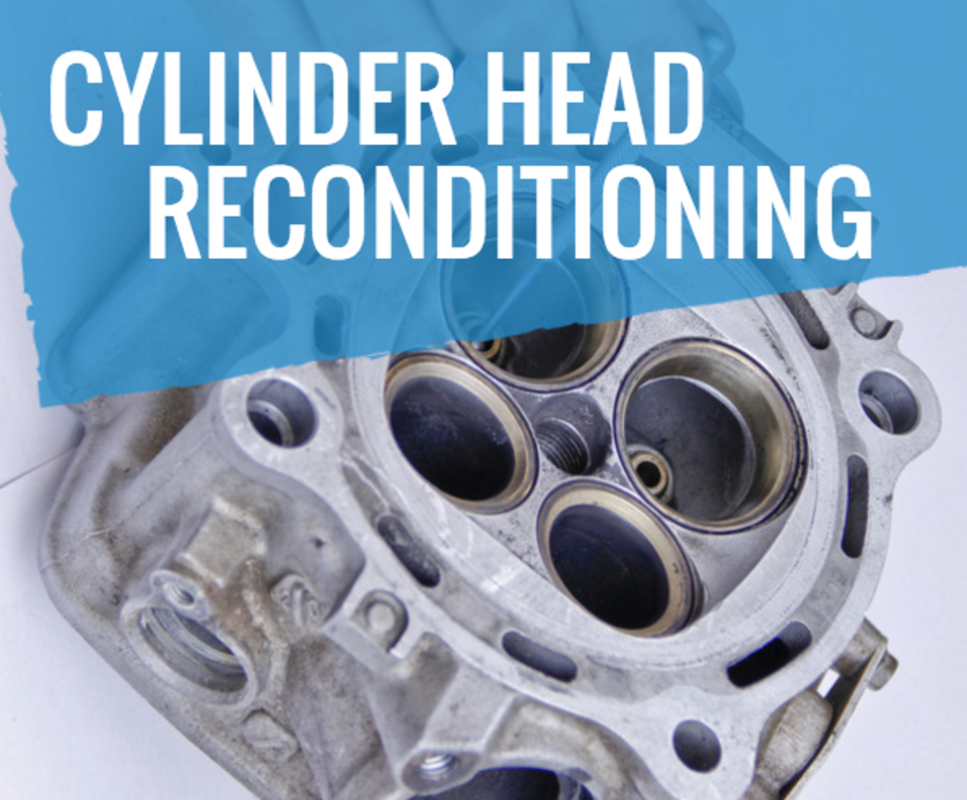
It's time to open up a can of worms and talk about a hotly debated topic in the powersport community - four stroke cylinder head reconditioning best practices. I've perused the forums and had discussions with people about reconditioning four stroke cylinder heads and there appears to be a lot of mixed opinion and beliefs on what is right or wrong. I'm certainly not going to say my take on the subject is the only way, but I do want to share my opinion, explain the technical details, as well as touch on the machining process. The text below is out of my book, The Four Stroke Dirt Bike Engine Building Handbook, and details why cylinder heads should be reconditioned a certain way.
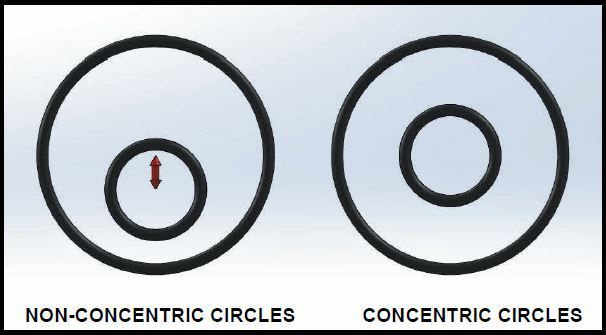
Whenever new valves are installed in a cylinder head, it is best practice to recut the valve seats since the valves and seats are mated parts, otherwise the new valves are very susceptible to premature wear when run in the old seats. If a major overhaul is being performed, there is a good chance that enough seat wear will have occurred during the engine’s life that the valve seats will need to be recut before new valves are installed. This may be news to you, so I want to provide an explanation of why this is necessary. The term concentricity is used to describe the relationship between the axis of two circular objects. When two objects are perfectly concentric, their axis match up precisely with one another.
In the case of the cylinder head, the valve guide axis and the valve seat axis must be as close to perfectly concentric as possible and parallel to one another. Usually, guide to seat concentricity is kept around 0.001” (0.025mm) or even less for racing applications. This is achieved by the factory by using a manufacturing process where the valve guides are reamed first. Then the freshly reamed valve guide bore is used to center the valve seat cutter. Once centered, the valve seat is cut. This process is then repeated for all the valves and results in very good concentricity between the valve guides and valve seats.
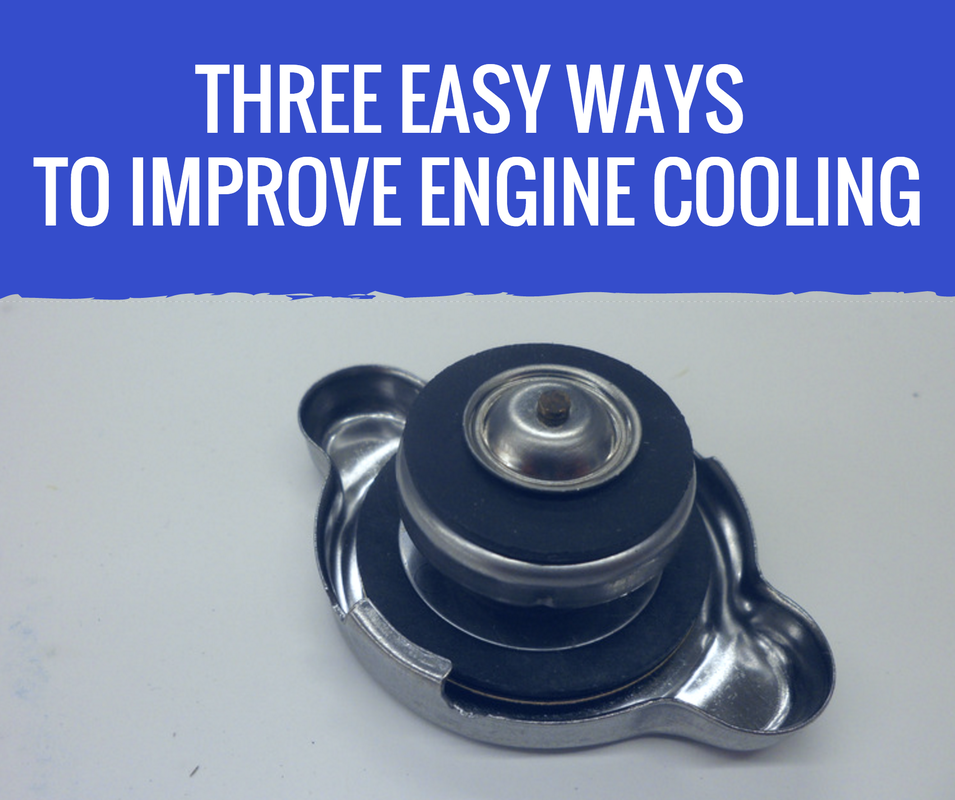
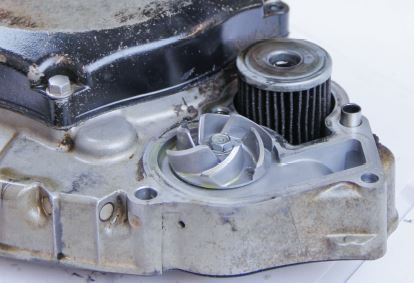
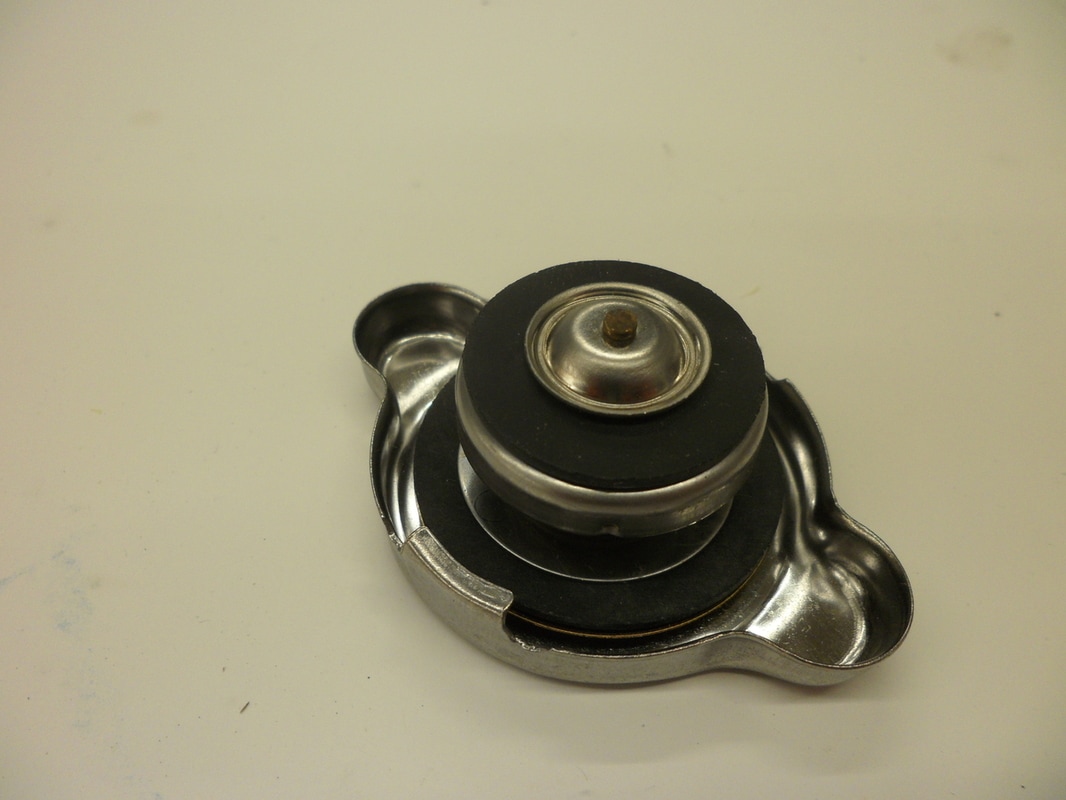
As the engine is run, the valve guides, valve seats, and valve faces will wear. The valve guides will wear from front to back in an oval shape at the top and bottom of the guides. In a cross sectioned view the valve guide will take on an hourglass shape. The guide will become oval as a result of thrust forces stemming from the way the camshaft contacts the lifter bucket or rocker arm. These forces are transmitted to the valves and cause the valves to thrust against the sides of the guides, eventually causing the guides to become oval shaped. Once the guides start to become oval shaped, the valve faces will no longer be as concentric to the valve seats as they originally were. When this happens the valves will start to slide against the seats, causing the seats and valve faces to wear. The valve seats will eventually become out of round and the sealing between the valve face and seat will suffer. Installing new valves into oval shaped guides and out of round seats will ensure that the new valves wear out very quickly! To ensure the new valves being installed last as long as possible, the cylinder head’s seats and guides must be reconditioned once they are worn out. Complete cylinder head replacement is always an option, but I want to focus on freshening up the original head which is usually a more economical option, but comes with many more variables surrounding the quality of the job. There are numerous services offered in the marketplace for valve seat cutting, however, not all valve seat cutting methods are equal in terms of quality. There are hand operated seat cutters, dedicated seat cutting machines, and a few other options to choose from. Selecting the correct seat cutting process and entrusting the work to a competent engine builder is very important. The valve seat cutting process should mimic the OEM process as closely as possible. A concentric valve seat will never be able to be cut without first servicing the valve guides. If the valve guides are out of round then they will either be reamed to a slightly larger size if they are not too oval in shape or they will be replaced. Once any issues with the valve guides are addressed and they are perfectly round from top to bottom, it will be possible to cut the valve seat. Ensuring the valve guide is perfectly round is extremely important since the valve seat cutter is centered off of the valve guide bore. Cutting the valve seat concentrically to the guide requires a combination of skill and using modern machinery. The best valve seat cutting equipment in the world is worthless without a good experienced operator running it. There are two main factors which make cutting a seat concentric to the valve guide difficult. To start with, the valve seat cutter uses a pilot which locates in the valve guide. Since the valve stems are very small in diameter the pilots used to guide the seat cutters are also very small in diameter. A small diameter pilot shaft that centers the cutting tool can flex easily, which presents a real problem when cutting the seats. The next issue that arises when reconditioning seats is that often times the cutting tool will try to follow the path of the old valve seat which can make it hard to cut a concentric seat. Couple these factors together with slop within the machine, setup error, and operator error and you can see how quickly things can come out of alignment and you can end up with a poorly cut seat. In addition to seat concentricity, the depth the seat is cut to will influence valve spring pressure, shim sizes, and the compression ratio of the engine. All three of these variables will be reduced the deeper the seat is cut, which is not a good thing. The surface finish of the seat itself will influence how well the valve seals. A seat with chatter marks or other machining blemishes will not seal as effectively as a smooth seat. The valve seat width and the contact point between the seat and the valve face are also very important. Due to the complexities involved with cutting valve seats on modern four-stroke dirt bike engines, the job should not be left up to just anybody. There are numerous businesses which specialize in valve seat cutting which have both the right equipment and expertise to do the job correctly. I highly recommend spending some time researching and finding a reputable cylinder head machining company when it comes time to recondition your head. If the cylinder head must be shipped off in order to do business with a reputable company, the additional wait will be worthwhile. If you found this information helpful and would like more technical info on maintaining your four stroke engine, check out my book, The Four Stroke Dirt Bike Engine Building Handbook. Thanks for reading and happy wrenching! As always if you have comments or want to share your thoughts please leave a note below. If you liked this post and want more dirt bike maintenance content sent your way, sign up for our email newsletter! In this post I want to discuss three easy ways to improve engine cooling for your dirt bike or ATV and explain why they are effective. As improvements are made to an engine that increase its power, the amount of heat the engine will create will also increase. Effectively removing heat from the engine and cooling it is very important as the power output of the engine goes up. The cooler an engine runs, the more power it can produce. There are three ways that the aftermarket attempts to improve the cooling system of a particular engine. 1. Increase flow through the cooling system. 2. Increase the cooling capacity of the radiators. 3. Increase the pressure of the cooling system. Let's dive in. 1. Increase flow through the cooling system The flow through the cooling system can be increased by installing a water pump impeller designed to increase the flow rate of the coolant. The reason increasing the flow rate of coolant works is because the rate of heat transfer from the engine to the cooling system is directly proportional to the mass flow rate of coolant. This is thermodynamics jargon, but there are two key parts to consider. First, how much coolant is flowing, and second, at what speed the coolant is flowing. The more coolant that flows and the faster it flows will reduce the temperature difference between the point where the coolant enters into the engine and where it exits. This next part is not quite as intuitive. When the temperature difference between the inlet and outlet is reduced, the average coolant temperature is lowered. When the average coolant temperature is lowered the engine will run cooler. This is why fitting a water pump, which increases the flow of coolant through the engine, improves cooling. 2. Increase the cooling capacity of the radiators Radiators consist of a series of tubes and fins which run from the top to the bottom of the radiator. These are often referred to as the radiator’s cores. As coolant enters the radiator it moves through the series of tubes and heat is transferred from the coolant to the fins. Air passes over the fins and heat is transferred from the fins to the air. This transfer of heat from coolant to air is how radiators reduce the temperature of the coolant. Coolant temperatures can be reduced by upgrading radiators in three ways, by increasing the frontal area of the radiators, by making the radiators thicker, or by using materials with better heat transfer properties for the cores. For all practical purposes, increasing the radiators’ frontal area and improving the core materials is rarely a viable option for dirt bike applications. This is because there is little room for the radiators to begin with and they are susceptible to damage, making the use of expensive core materials a risky affair. Unfortunately, both of these options are better improvements to make before resorting to increasing the thickness of the radiators. Increasing the thickness of a radiator is not as efficient of an improvement as increasing the frontal area of the radiator. In order for thicker radiators to cool more effectively than their stock counterparts, airflow past the radiators is key. When the thickness of a radiator is increased, air must travel a greater distance through the radiator before exiting. The speed the air is traveling plays a big role in determining how quickly the air heats up as it moves through the radiator. If the air is not traveling fast enough through the radiator, the air temperature will rise and equal the coolant temperature before reaching the end of the radiator. Once this happens, heat transfer stops and whatever portion of the radiator remains will not help with cooling. In order for a thicker radiator to be effective, air must flow quickly enough through it so that the exiting air temperature is at, or better yet, below the coolant temperature. In conclusion, benefits from adding thicker radiators will be more prominent in applications where speeds are relatively high. Whereas in applications where the bike is hardly moving, improved cooling may not be noticeable. 3. Increase the pressure of the cooling system The last alteration to the cooling system that can be made is to install a high pressure radiator cap. As coolant temperature increases, pressure increases inside the cooling system. The radiator cap is designed to be the pressure release point in the cooling system in the event that too much pressure builds up. This can occur as a result of overheating or a blown head gasket for example. By designing the radiator cap to be the weak link in the system, other parts of the system, such as seals, don’t end up getting damaged from being over pressurized. The radiator cap features a plug and spring on its underside. The spring is designed to compress once a certain pressure is reached, at which point the plug will move upwards and uncover a pressure release hole where excess pressure will be vented. The coolant’s boiling point and ability to conduct heat are necessary factors in understanding why a high pressure radiator cap can help improve engine cooling. Water alone boils at 212°F (100°C) while a 50/50 mix of water and antifreeze boils at 223°F (106.1C). Radiator cap pressure designations are usually advertised in bar, with most stock radiator caps designed to withstand pressures up to 1.1 bar (16psi). The more pressure a fluid is under, the more difficult it becomes for the fluid to vaporize, and the higher its boiling point becomes. When water is under 1.1 bar of pressure, the temperature water will boil at is 260°F (127°C) while a 50/50 antifreeze mix will boil at 271°F (133°C). By installing a radiator cap designed to withstand higher pressures, an additional increase in the coolant’s boiling point will be seen. High pressure caps are usually designed to withstand 1.3 bar (19psi) of pressure. This 0.2 bar (3psi) increase in pressure over the stock system will increase the boiling point of water or antifreeze by 8.7°F (4.83°C). This will then bring the boiling point of pure water or a 50/50 antifreeze mix to approximately 269°F (132°C) and 280°F (138°C) respectively. While this small temperature increase alone won’t do a lot for your engine, coupling a high pressure cap and using coolants with better heat transfer properties can do wonders. Antifreeze (ethylene glycol) alone is not an inherently good conductor of heat. In fact, pure antifreeze conducts heat about half as well as water, while a 50/50 mix of antifreeze and water conducts heat approximately three quarters as efficiently as pure water. This means a cooling system using a 50/50 mix of antifreeze would have to flow faster than a cooling system filled with pure distilled water in order to achieve the same cooling efficiency. What this means for you is significant cooling gains can be made by using distilled water and an additive called “Water Wetter” in place of an antifreeze-water mix. Water Wetter is an additive that improves water’s “wetting” abilities (another whole subject), adds corrosion resistance, and slightly increases the boiling point of water. A high pressure radiator cap in conjunction with distilled water and Water Wetter as the coolant is by far the best route to go for high performance applications where freezing is not an issue. For applications which must still be resistant to freezing, the antifreeze-water ratio can be altered in favor of mixtures incorporating more water than antifreeze so that the cooling efficiency of the mixture is improved. Just bear in mind the freezing point of the mixture as it is thinned with water will be reduced, so you will need to pay close attention to the environment you are operating in so that the coolant is never susceptible to freezing. A frozen coolant system can ruin an engine and makes for a very bad day! One last thing...Remember we are donating 15% of all profits made in April to AutismMX for Autism Awareness Month. You've got 5 more days to let a part of your purchase benefit this amazing non profit!
AutismMX brings Autism awareness to the motorcross community. Founder, Matthew Dalton, created this non-profit after finding that motorcross was an amazing way to connect with his autistic son. At DIY Moto Fix this non-profit also touches a chord with us. Our filmmaker and photographer, Kelsey Jorissen, loved dirt biking with her autistic brother throughout their childhood. The Autism MX Project organizes ride days for ASD kids and families to have the chance to ride AMX’s little dirt bikes and quads and enjoy the sport of motocross. They also sponsor amateur MX racers and AMA pro racers. Through doing so, they are getting out the word on Autism Awareness to millions. So for the next 5 days - if you buy a book, a video, even a poster - 15% of that purchase will go towards AutismMX and their amazing cause. I hope you enjoyed this post on three easy ways to improve your engine’s cooling, thanks for reading, and have a great rest of your week! April is Autism Awareness month, and here at DIY Moto Fix we couldn't be more excited to announce that we will be donating 15% of all profits made in April to AutismMX.
If you haven't heard of AutismMX, this amazing non-profit brings Autism awareness to the motorcross community. Founder, Matthew Dalton, created this non-profit after finding that motorcross was an amazing way to connect with his autistic son. At DIY Moto Fix this non-profit also touches a chord with us. Our filmmaker and photographer, Kelsey Jorissen, loved dirt biking with her autistic brother throughout their childhood. The Autism MX Project focuses on four areas:
So for the entire month of April - if you buy a book, a video, even a poster - 15% of that purchase will go towards AutismMX and their amazing cause. Thanks for reading and have a great rest of your week!
Today I want to talk about a situation I hear all too often. Someone’s bike, whether it be a two-stroke or four-stroke, only starts when it is pushed.
Before I discuss potential causes for this scenario, take a moment to think through the situation yourself. What mechanical factors would result in either a two-stroke or four-stroke only starting when it is bump started?
In either case, the reason the engine is able to start when it is push started is because it is able to build more compression than it otherwise could when it is kicked or the electric starter is engaged. More compression is achievable because the cranking RPM is higher than what’s possible with the aforementioned starting methods. With a higher cranking RPM for a four-stroke, more air will fill the cylinder on the intake stroke, and for a two-stroke the scavenging process will be improved. With this being the case we must look at reasons why the engine is struggling to build compression in the first place.
Starting problems specific to four-strokes:
1. Valve seat recession - When a valve seat wears out and recedes, the valve moves up towards the camshaft. This leads to diminished valve clearances and if left to run its course, the valve and shim will bottom on the camshaft’s base circle. This can prevent the valve from seating and make the engine hard to start.
2. The valve is bent - A valve with a serious bow to it may get jammed up inside the guide and not return all the way back to its seat. Bent valves typically result from an over-revved engine where the valves contact the piston. Valves can also bend to a lesser extent if they were mated to valve seats that were not cut concentrically to the guides, or they were paired with worn seats. 3. The valve stuck in the guide - This is usually due to the engine overheating. When the engine overheated the clearance between the valve and guide diminished which caused metal to transfer from one part to the other, ultimately ruining the surface finish on one or both parts. Once this happens the valve may be prone to sticking in the guide until the engine warms up. 4. The valves and seats do not seal well - Worn valves and valve seats can compromise the seal between them. Valve and seat wear is a natural part of running an engine but can also be accelerated by ingesting dirty air. Starting problems specific to two-strokes:
1. The reed valve is worn - Reed petals that don’t close all the way, are chipped, or bent will not allow sealing of the crankcase and efficient gas flow up from the crankcase into the cylinder.
2. An engine seal or gasket has failed - A two-stroke engine requires a well sealed crankcase and cylinder in order for it to scavenge gases efficiently. A worn crank seal, leaky base gasket, or problematic power valve seal can all make starting more difficult. Two and four-stroke problems:
1. The piston rings are worn - Worn piston rings will allow compressed gases to escape past them.
2. The head gasket or o-rings are leaking - Usually a leaking cylinder head will be accompanied by white smoke if coolant is being pushed into the combustion chamber, by coolant being blown out the radiator, or both. I hope you found this rundown of potential problems useful for diagnosing bikes that like bump starting over a kick or the push of a button. Can you think of any other problems that would lead to lack of compression? If so, leave a comment and share them. If you liked this post and want more technical info, be sure to sign up for my weekly eNewsletter. Every week I will send you in-depth technical and maintenance tips when it comes to caring for your dirt bike. I hope you all had a good January and are excited for the rest of 2017. The ice bike has been officially put to bed for the season since things have been so warm, but I’m thankful I’ve was able get out and ride for at least one race. I’m definitely excited for the new year and today I wanted to discuss my upcoming blogs and share a quick tech tip with you. My blog post pool is low right now and I’d like your help! Looking ahead to 2017 I want to deliver informative posts tailored to what you need to know and want learn. In the comments section below be sure to share your thoughts on what you’d like to learn about this year. Whether it’s maintenance, tuning, suspension, two-stroke, four-stroke, or anything else-- I want to hear what you have to say. Depending on post length it takes me anywhere from 2 - 5 hours to write a piece I feel comfortable publishing for you, so I want to make sure I’m spending my time covering topics that are truly beneficial and relevant. Moto Mind Quick Tech TiPAnytime you drain fluids from something you’re working on and halt progress (think waiting for parts) tag the throttle or any other visible location and note that there’s no fluid in the machine.
This isn’t always applicable but here’s an instance of when it was. I’ve moved a few times in the last couple years and during that transitional period my bikes were five hours away in northwestern Wisconsin. One weekend I was set to make the trip back home to go riding, certain that my bike was ready to go. I got there and found that I’d left myself a tag noting that I was only part way through the oil change I so vividly remember completing. While I usually check my sight glass anyway, I can’t say I always do, especially if I’m in a hurry. Whether or not I would have caught the lack of oil without the tag I will never know, but I’m just glad I left myself a visual reminder. If there’s something you’d like to learn about, please leave a comment below and I’ll see what I can do to work it into this year’s blogging schedule! I hope you all had a good holiday season and are ready for 2017. So far this year has been good to me and in this post I want to briefly reflect on 2016 and discuss my plans for 2017.
I hope you’re all enjoying the holiday season so far. For those of you in northern states, I hope that you got in some last minute riding or are gearing up for riding on the ice this winter. This month I want to touch on bolted joints and the importance of adhering to tightening techniques outlined in your model’s service manual.
Having a clutch that works correctly is key to being able transfer all the power your engine produces to the rear wheel (or wheels if you're a quad guy/gal). In this post I want to share some key clutch inspection techniques I use and recommend to help ensure your clutch works as it should. These tips are presented in a step-by-step format and are taken right from my book, The Four Stroke Dirt Bike Engine Building Handbook.
|
InspirationsCategories
All
Archives
November 2022
Favorite Films |

