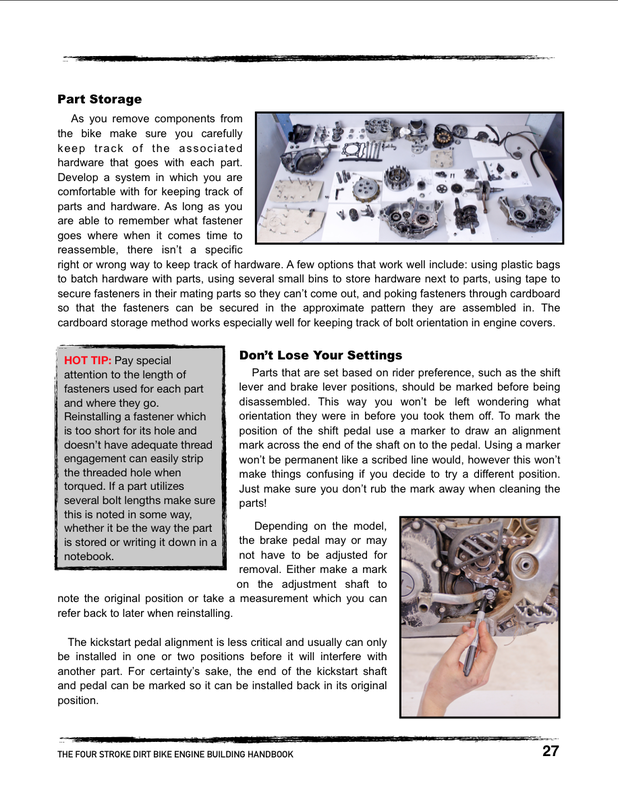
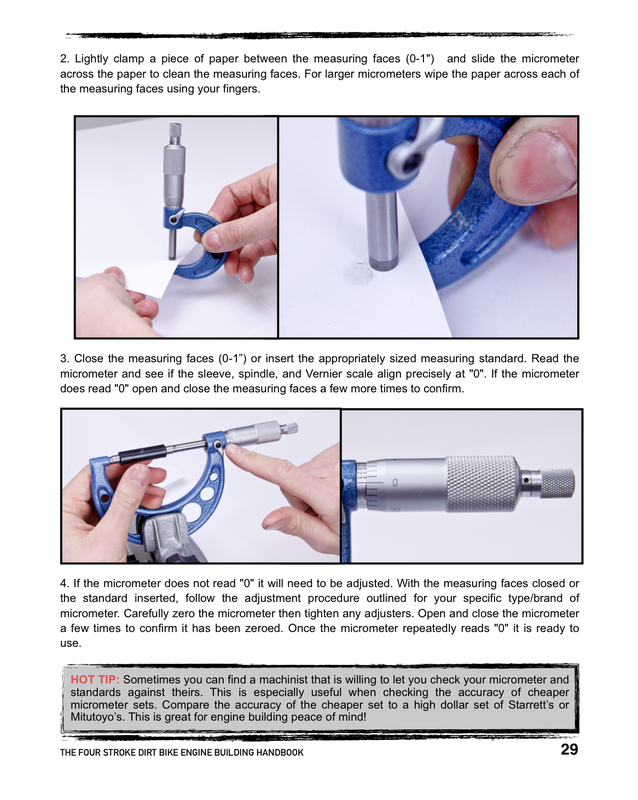
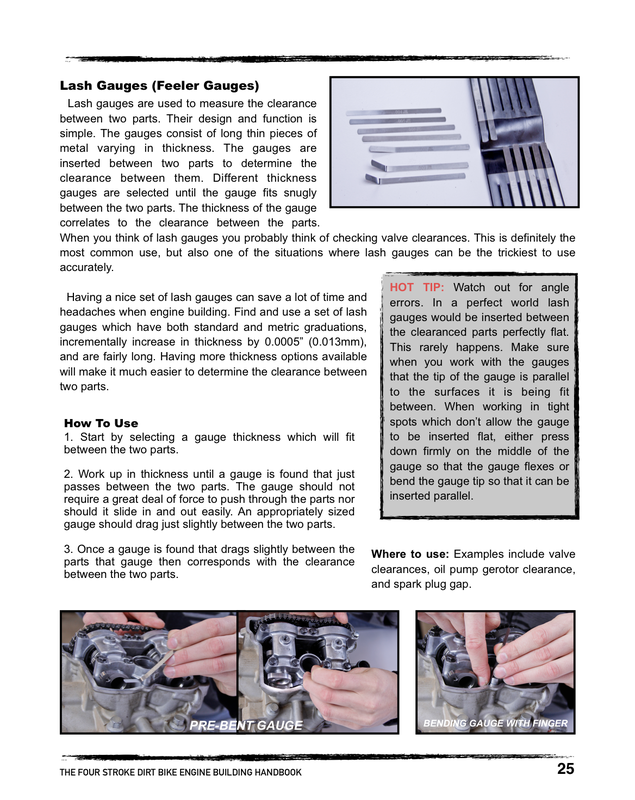
In my last blog post I covered how to lace up a wheel assembly with new spokes. This week I’ll discuss how to properly true the rim. Truing the rim is actually not too difficult. Once you understand the interaction between the spokes and rim, you will make quick work of the job.
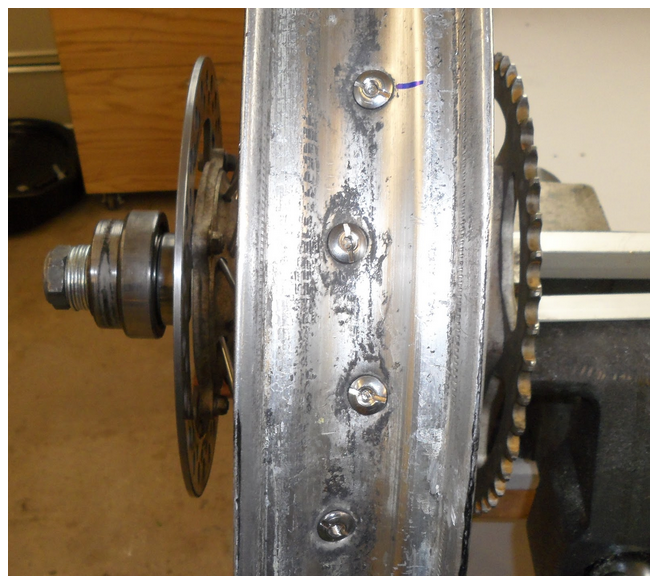
To get started a truing stand of sorts needs to be set up. This doesn’t have to be anything special and I used a bench vice, adjuster block, rear axle, spacers, a series of old bearings and washers, and the axle nut. The reason I went to the trouble of clamping the hub in place was to eliminate any possibility of the hub sliding back and forth on the rim, which would make my truing efforts difficult.
To get started a truing stand of sorts needs to be set up. This doesn’t have to be anything special and I used a bench vice, adjuster block, rear axle, spacers, a series of old bearings and washers, and the axle nut. The reason I went to the trouble of clamping the hub in place was to eliminate any possibility of the hub sliding back and forth on the rim, which would make my truing efforts difficult.

|
|