I hope 2016 is treating you well so far! This last weekend I participated in the Steel Shoe Fund 3 Hour Endurance Ice Race out on Kettle Moraine Lake. For those of you not living in the northern midwest, last weekend averaged about 0 degrees Fahrenheit and the wind chill made it feel like 10 below. Regardless, there were over 65 teams that raced and the day was a blast. Unfortunately we had a serious injury out on the track and they had to call it before anyone officially completed the race. Last I heard the rider is doing fine now, thank goodness! Hopefully I get a few more ice races in before the winter season is over.
Today I want to talk about six characteristics that are necessary to have when one sets out to build an engine. I’ve detailed how to tackle many different jobs, but honestly that is only half the battle. If you’re in a rush or lack the desire to understand the reasons behind what you’re doing, you will make mistakes and miss out on important things. Listed below are the traits that I believe can help you take your build to the next level.
1. Being Detail Oriented
What’s worse than getting started on a build only to realize you didn’t buy an important replacement part? Focussing on the details of a project can feel tedious at times but can pay off in the grand scheme of things. Before I get started on a project I spend a hefty amount of time researching what parts I’m going to replace and where the best prices are. Also, I will have a solid idea of the sequences I’ll use for disassembly and assembly. Another good habit for the detail oriented is to take notes throughout the build, which you can use at a later date should the need arise. When you have an appreciation for all the small details that go into a build, it will make for a much smoother project.
2. Having Patience
Have you ever been in a rush to do something and after you’re done you realize if you had spent just a bit more time the project could have turned out much better? I was this way with so many of the things I did when I was younger, but have learned to slow down and be patient as I work. Engines don’t go together instantaneously and being patient throughout the process, especially when things aren’t going as planned, is very important. There is nothing worse than making a huge mistake because you’re in a rush. Imagine finishing a build and realizing you left an important part on the table, depending on where the part came from, you just bought yourself another few hours of work. Trying to skimp on time more often than not costs you more time in the long run. Have patience and enjoy the process.
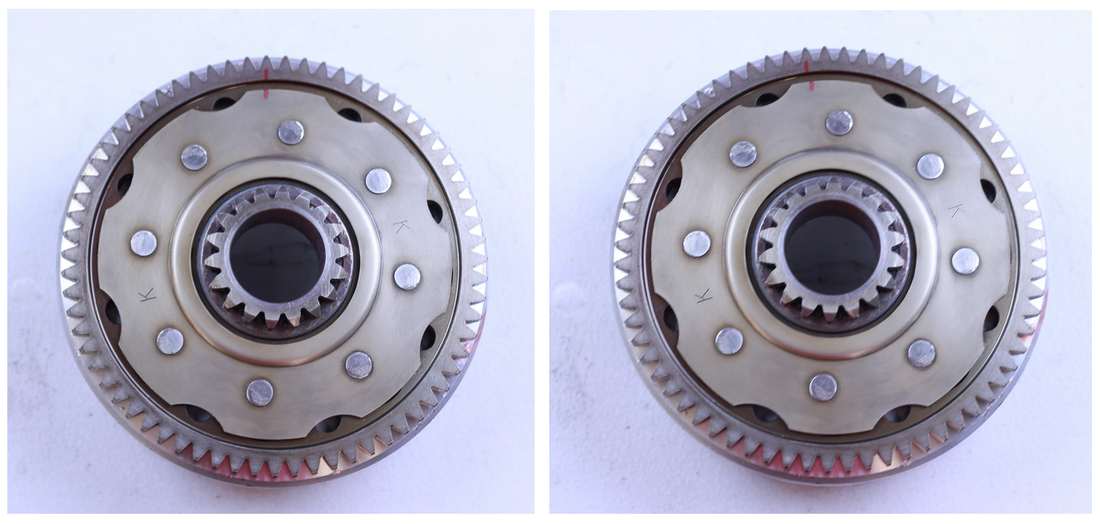
3. Being Observant
Just about every mechanical thing is gleaming with a story, and that story only reveals itself if you know what to look for. An engine is no different. From the parting lines on a component left by the casting tooling used to create it to wear patterns on a piston, there are hundreds of observations that can be made while working on an engine. As you work, keep an eye out for subtle anomalies that may tell you why something failed or broke. For example, things like snail tracks across a gasket, raised edges on gasket surfaces, or covers that don’t sit flat on a table - these are all good indicators of why a particular part was leaking.
4. Being Curious
Perhaps more appropriately titled, “a desire to understand mechanical workings”. It is incredible how much can be learned about the engine just by studying how specific parts interact within it. An engine is composed of many different subsystems and they must all work in order for the engine to function. By looking at the various interactions of the parts within an engine, the condition of the parts and reasons for any failures can be more easily understood. The next time you build an engine, challenge yourself to learn how all the different subsystems of the engine work. Once you learn this, diagnosing problems and identifying all the faulty parts becomes much easier.
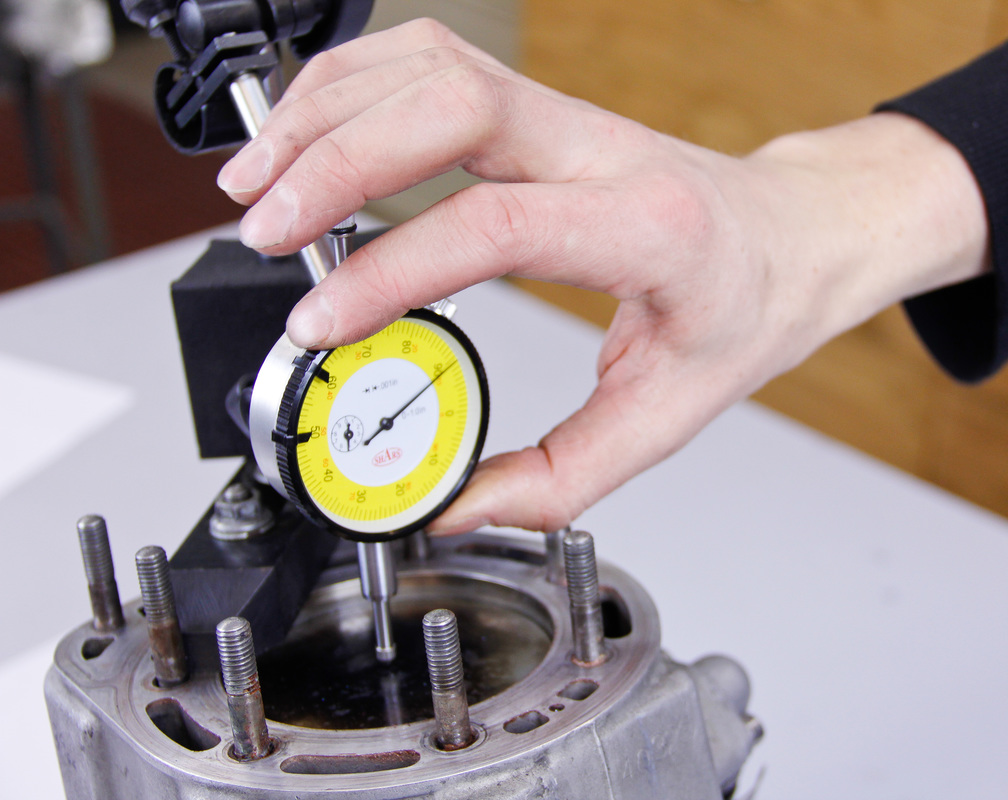
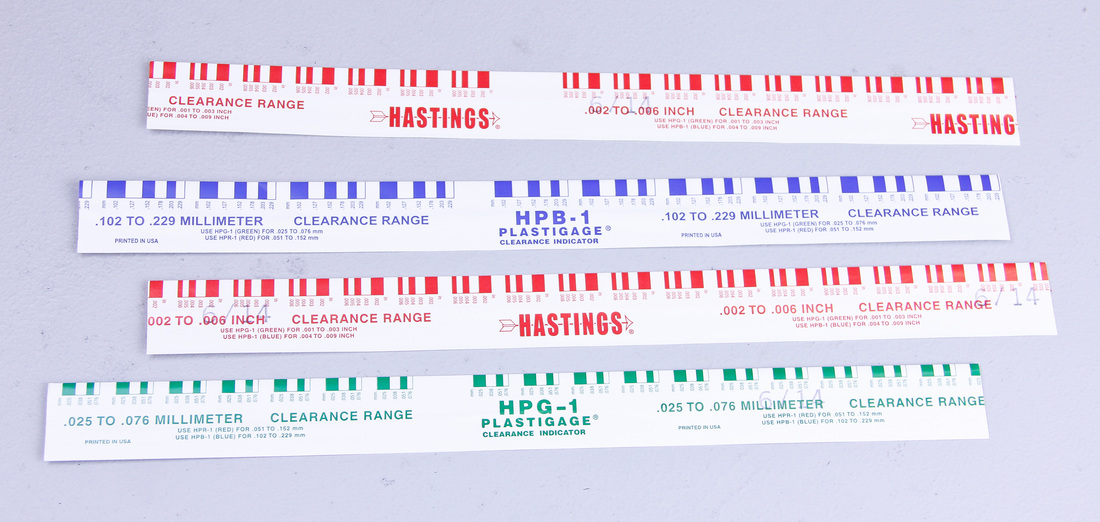
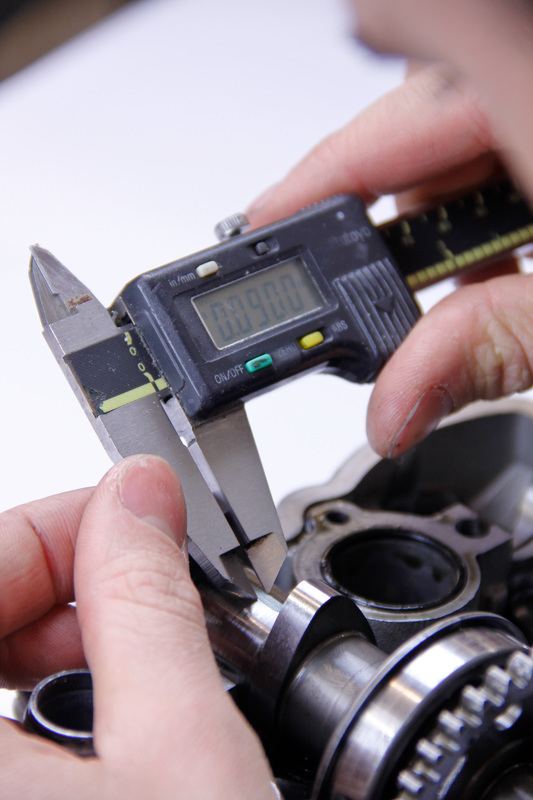
5. Being Meticulous
The necessity to be thorough and meticulous throughout a build cannot be overstated. Whether it be taking extra steps to inspect components, measuring new parts, or taking extra time to ensure the condition of surrounding subsystems are okay, having meticulous tendencies can pay off. As an example, on more than one occasion I’ve purchased new parts that have been mispackaged or out of spec. Had I not made the choice to carefully measure the problematic new parts, I could have ended up with an engine that was destined to fail. While it may take more time to be meticulous throughout a build, there is a lot at stake, both in terms of time and money, making it all the more important to ensure everything is done correctly.
6. Having Ambition
Building an engine can be hard, things can go south unexpectedly, and projects can easily stall. Being ambitious and having a can-do attitude is important to ensure the engine doesn’t sit half torn apart in the garage never to be completed. Until you tear into the engine, you never know what you might find. I’ve disassembled engines many times in the past only to find I need to replace a lot more parts than I had planned (this seems to be my luck when I shop for bikes on Craigslist as of late). This can be a huge downer, but keeping the end goal of getting back out and riding in mind and having the desire to push through any and all obstacles is a must.
Do you have any engine building characteristics you want to share? Leave a comment below and tell everyone what you think it takes to build a great engine!
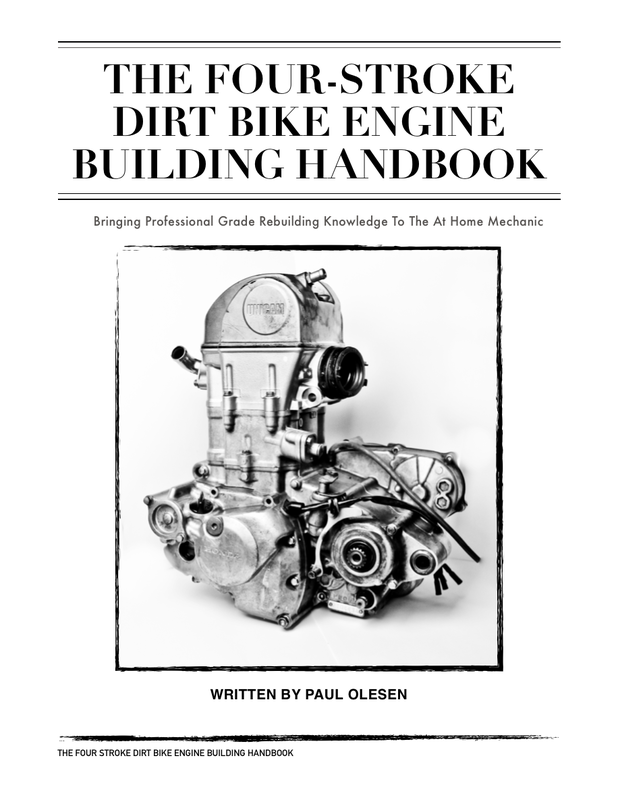
For those of you that believe you possess the characteristics of a good engine builder, be sure to check out my book, The Four Stroke Dirt Bike Engine Building Handbook, to learn more about the how and why behind engine building. Whether you want to be taught about the relationships between all the various parts within an engine, you are in need of pointers on picking the right performance parts, or you would like to see examples of wear patterns found on engine components, my book is here to guide and help you throughout your build.
Today I want to talk about six characteristics that are necessary to have when one sets out to build an engine. I’ve detailed how to tackle many different jobs, but honestly that is only half the battle. If you’re in a rush or lack the desire to understand the reasons behind what you’re doing, you will make mistakes and miss out on important things. Listed below are the traits that I believe can help you take your build to the next level.
1. Being Detail Oriented
What’s worse than getting started on a build only to realize you didn’t buy an important replacement part? Focussing on the details of a project can feel tedious at times but can pay off in the grand scheme of things. Before I get started on a project I spend a hefty amount of time researching what parts I’m going to replace and where the best prices are. Also, I will have a solid idea of the sequences I’ll use for disassembly and assembly. Another good habit for the detail oriented is to take notes throughout the build, which you can use at a later date should the need arise. When you have an appreciation for all the small details that go into a build, it will make for a much smoother project.
2. Having Patience
Have you ever been in a rush to do something and after you’re done you realize if you had spent just a bit more time the project could have turned out much better? I was this way with so many of the things I did when I was younger, but have learned to slow down and be patient as I work. Engines don’t go together instantaneously and being patient throughout the process, especially when things aren’t going as planned, is very important. There is nothing worse than making a huge mistake because you’re in a rush. Imagine finishing a build and realizing you left an important part on the table, depending on where the part came from, you just bought yourself another few hours of work. Trying to skimp on time more often than not costs you more time in the long run. Have patience and enjoy the process.
3. Being Observant
Just about every mechanical thing is gleaming with a story, and that story only reveals itself if you know what to look for. An engine is no different. From the parting lines on a component left by the casting tooling used to create it to wear patterns on a piston, there are hundreds of observations that can be made while working on an engine. As you work, keep an eye out for subtle anomalies that may tell you why something failed or broke. For example, things like snail tracks across a gasket, raised edges on gasket surfaces, or covers that don’t sit flat on a table - these are all good indicators of why a particular part was leaking.
4. Being Curious
Perhaps more appropriately titled, “a desire to understand mechanical workings”. It is incredible how much can be learned about the engine just by studying how specific parts interact within it. An engine is composed of many different subsystems and they must all work in order for the engine to function. By looking at the various interactions of the parts within an engine, the condition of the parts and reasons for any failures can be more easily understood. The next time you build an engine, challenge yourself to learn how all the different subsystems of the engine work. Once you learn this, diagnosing problems and identifying all the faulty parts becomes much easier.
5. Being Meticulous
The necessity to be thorough and meticulous throughout a build cannot be overstated. Whether it be taking extra steps to inspect components, measuring new parts, or taking extra time to ensure the condition of surrounding subsystems are okay, having meticulous tendencies can pay off. As an example, on more than one occasion I’ve purchased new parts that have been mispackaged or out of spec. Had I not made the choice to carefully measure the problematic new parts, I could have ended up with an engine that was destined to fail. While it may take more time to be meticulous throughout a build, there is a lot at stake, both in terms of time and money, making it all the more important to ensure everything is done correctly.
6. Having Ambition
Building an engine can be hard, things can go south unexpectedly, and projects can easily stall. Being ambitious and having a can-do attitude is important to ensure the engine doesn’t sit half torn apart in the garage never to be completed. Until you tear into the engine, you never know what you might find. I’ve disassembled engines many times in the past only to find I need to replace a lot more parts than I had planned (this seems to be my luck when I shop for bikes on Craigslist as of late). This can be a huge downer, but keeping the end goal of getting back out and riding in mind and having the desire to push through any and all obstacles is a must.
Do you have any engine building characteristics you want to share? Leave a comment below and tell everyone what you think it takes to build a great engine!
For those of you that believe you possess the characteristics of a good engine builder, be sure to check out my book, The Four Stroke Dirt Bike Engine Building Handbook, to learn more about the how and why behind engine building. Whether you want to be taught about the relationships between all the various parts within an engine, you are in need of pointers on picking the right performance parts, or you would like to see examples of wear patterns found on engine components, my book is here to guide and help you throughout your build.